Key takeaways
- Hydronic underfloor heating is settled on paper before the slab is poured, because the pipe layout, the manifold position and the insulation beneath the slab cannot be changed afterwards without breaking concrete.
- The designer layout drawing governs the pour, so the pump operator, the concreter and the plumber should each work from the same marked-up copy of it.
- Pipes must be fixed to the reinforcement or chairs so they hold their designed position while the concrete is pumped, placed and finished.
- A pressure test held before the pour is the cheapest evidence that the loops are intact, and the concrete should not go on until that test is signed off.
- Running the plumber, the electrician and the concreter through one written pre-pour sequence, with a hold point between each step, is what stops a hydronic slab becoming a claim against the builder.
Hydronic underfloor heating is one of the few building services that is decided almost entirely before anyone turns on a tap. The pipe loops, the manifold position, the way the pipe is fixed and the insulation below the slab all go into the concrete, and once the pour is off the pump the only fix for a poor decision is a jackhammer and a new slab. For a licensed builder used to coordinating plumbers, electricians and concreters on the same site, the hydronic slab asks for a higher standard of planning than most trades, because the work that matters most is finished before the services trades arrive to connect it.
This article is about the planning and coordination that happen before the concrete is placed. It is not about choosing a heat source, sizing a heat pump and its hot water partner, or working out which hot water system suits a household, because those are separate decisions with their own tests. The question here is narrower and more practical: what has to be on paper, in the right hands and physically in place for a hydronic slab to be poured once, correctly, and handed over without a callback. The points below are the ones that tend to be missed when the job is run by a builder juggling several sites.
Why the slab is the only chance to get the loops right
A hydronic system is only as good as the loops it sits in. Once the concrete has set around the pipe, the loop length, the spacing between runs and the position of every bend are fixed for the life of the building. The designer has already worked out how much heat each room needs and how far each loop can run before the water cools too much. None of that can be recovered in the field, so the real planning window is the period between the layout being approved and the first load of concrete arriving on site.
The commercial side is straightforward. A slab that has to be broken out because a loop was laid in the wrong room costs the concrete, the demolition, the reinstatement, the floor finish that has to come off and go back on, and the programme delay that comes with all of it. Under most residential contracts that cost lands on the builder, because the builder controls the sequence on site, even when the design or a service trade made the error. The problem usually surfaces when the heating is commissioned, which can be months after the slab was poured, by which time the people who laid the pipe have moved on to other jobs.
That is why the planning should be treated as a hold point rather than a formality. Nothing goes on top of the pipe until the layout has been checked against the drawing, the manifold position is confirmed, and every trade has agreed in writing that the slab is ready to be covered. A builder who can show that sequence in the job file has a defence when the heating is later disputed. A builder who cannot will be arguing from memory, and memory is a poor witness.
What the designer hands you, and what to check against it
The hydronic designer normally provides a layout drawing showing the loop routes, the spacing between runs, the heating zones and the position of the manifold and the controls. Read it as a construction document, not as a picture of a warm floor. Check the room dimensions against the architectural drawings, because a layout drawn from an earlier revision of the plan is one of the most common causes of a loop finishing in the wrong place. Confirm that the penetrations through the slab edge, the service shaft or the wall line match the position of the manifold, and that the drawing shows the route the flow and return pipes take to reach it.
Look also for what is left out. A good layout shows where the pipe must not be placed, such as beneath a fixed cabinet, under a planted bed or close to a floor waste. It shows where joins are permitted, if they are permitted at all, and how the zones are split so that a single room can be isolated for service. If any of those details are missing, ask the designer for a marked-up copy before the reinforcement goes in. The people placing the reinforcement will not know what the drawing does not say, and they will make their own decisions about the gaps.
Insulation under and around the loops
The insulation beneath and around the slab decides how much of the heat travels up into the room and how much leaks down into the ground. Hydronic floors are designed on the assumption that the insulation is continuous, correctly laid and undamaged, and most underperforming floors trace back to a gap in it. Check the insulation product, its thickness and its position against the designer’s specification. Check that it runs under the full extent of the heated area, and up the slab edge where the design calls for it.
The energy performance of a new dwelling is assessed separately, and BASIX is the NSW tool that sets out the thermal and energy targets a new home must meet. Do not assume that a floor which meets those targets on paper will perform as the designer expects in the field. The performance depends on the insulation being installed the way it was modelled, which is a site supervision matter and not a calculation problem. If the drawing specifies one material and the site has delivered another, the difference should be raised with the designer before the slab is poured, not after the heating is switched on.
Where the insulation sits on a damp-proof membrane, check that the membrane is intact and properly lapped before the insulation goes down. Where the insulation sits on compacted fill, check that the fill is compacted and graded to the level the designer has set, because an uneven base will move the pipe as the concrete is placed.
Fixing the pipe so the pour does not move it
Fixing is where most hydronic slabs go wrong. The pipe is light, the concrete is heavy, and the mix arrives in a flow that pushes anything loose out of position. The pipe has to be held on the reinforcement or on purpose-made chairs at the spacing and height the designer specifies, and it has to stay there while the concrete is placed, levelled and finished. A loop that floats up into the top of the slab loses cover and may be damaged by the finishing trades. A loop that is pushed down onto the membrane can be punctured by the reinforcement.
Use the fixing method the designer or the pipe manufacturer specifies, which is usually ties or clips to the mesh or the chairs. Do not use wire that cuts into the pipe, and do not rely on the concrete to hold a loop in place. Walk the loops after fixing and check that no section has been stepped on, kinked or pulled tight across a bar. A kinked pipe that passes the pressure test today can fail under the thermal movement of the first heating season, and the failure will be inside the concrete where nobody can reach it without breaking out the floor.
The same discipline applies to the structure. Where a waffle raft or a stiffened slab edge crosses the heated area, the pipe has to route around the ribs and the bond beams, not through them. The waffle raft slab defects checklist covers what goes wrong at the structural end, and the same coordination applies here. The structural drawing and the hydronic layout must be read together before the mesh goes down, and any clash must be resolved by the designer, not by the reinforcement fixer on the day.
Pump lines, vibration and the day of the pour
On the day of the pour the pipe is at its most vulnerable. The concrete pump lines carry the mix under pressure, the concreter’s crew walks across the reinforcement with barrows and boots, and the vibrator is pushed into the mix to remove air. Each of those can move the pipe, crack a joint or damage the wall of a tube if the loops have not been protected. The safety side of concrete pumping is covered in Safe Work Australia’s guidance on the hazard, and the practical side of the pour is a conversation with the pump operator and the concreter before the truck is booked.
Agree the placement sequence in advance. The concrete should be placed in a direction that does not push the loops sideways, and the vibrator should be kept clear of the pipe. Lay boards or planks where people will walk. Keep the hydronic installer, or a plumber who knows the system, on site during the pour with the test gauge still connected, so that any drop in pressure is noticed while the concrete is still plastic and the pipe can be checked. A pour that goes ahead without anyone responsible for the pipe is a pour with no one to make the call if something moves.
Pressure testing before the concrete goes on
A pressure test before the pour is the cheapest evidence you will ever buy that the loops are intact. The installer fills the circuit with water, brings it up to the test pressure the designer or the manufacturer specifies, and holds it for the period set in the design documentation. Any loss of pressure during that hold points to a leak, a joint or a damaged section. The fault can be found, repaired and retested while the pipe is still exposed. Once the concrete is down, the same leak becomes a slab repair with the floor finish, the joinery and the owner’s patience all in the way.
Insist on a written test record. It should show the date, the circuit tested, the pressure applied, the hold period, the result and the name of the person who carried out the test. Where the contract allows, the test should be witnessed by someone other than the installer, and the record should be attached to the job file before the concrete is ordered. Where the pipe is not tested before it is buried, the builder has no evidence the loops were sound at the moment they were covered, and that gap is hard to defend when a leak appears later.
Before the truck is booked
- The layout drawing is the current revision and has been marked up on site.
- The manifold position and the penetrations match the drawing.
- Every loop is fixed at the designed spacing, and no section is kinked or stepped on.
- The insulation and the membrane are continuous, lapped and undamaged.
- Each circuit has a signed pressure test record in the job file.
- The pump operator, the concreter and the installer have agreed the placement sequence in writing.
- Walking boards and pipe protection are in place for the pour.
The costliest mistake. Releasing the pour before a signed pressure test is on file means any leak becomes a slab repair, and the builder usually carries that cost even when the plumber made the error. The test record is the only evidence that the loops were sound when they were buried.
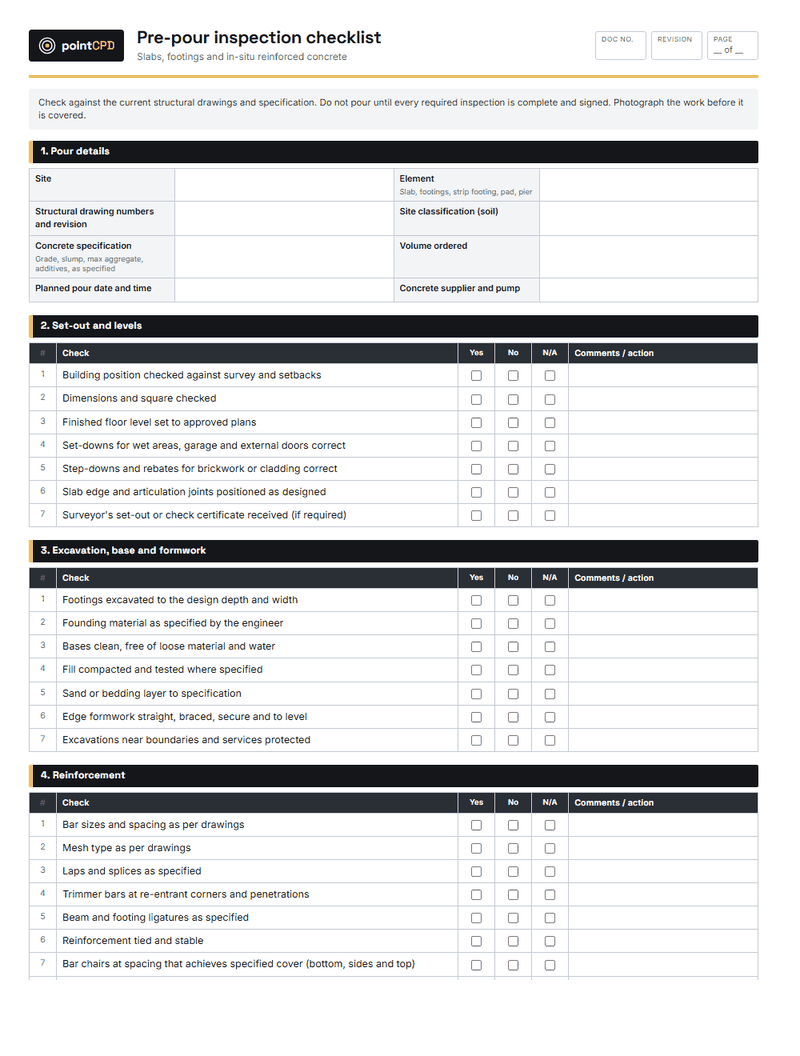
The free pre-pour inspection checklist in the PointCPD template library follows the same order as this article and can be printed for the site folder. It is a prompt, not a substitute for the designer’s documents, and it works best when the person ticking it has walked the slab with the marked-up drawing in hand.
Sequencing the trades around the pour
The hydronic slab touches more trades than most floors. The plumber lays the loops and connects the manifold. The electrician runs the cables for the thermostats, the pump and any sensors, and may need conduit through the slab. The concreter places the mix. The waterproofer may need to lap the membrane around the penetrations. The tiler or the timber flooring installer needs to know exactly where the loops sit, because drilling or nailing into a pipe is a mistake that nobody wants to explain to an owner.
The useful discipline is to put the trades in one written order and make each hand-off a hold point. The electrician’s conduit goes in before the reinforcement is tied, not after. The plumber’s hold point is the pressure test, and the concreter does not start until it has been signed off. The waterproofer checks the penetrations before the slab is covered. Each step is recorded on the same sheet, so the person running the site can see at a glance whether the slab is ready and who is accountable for each part of it.
The pre-pour sequence, in order
- 1Confirm the layoutCheck the marked-up drawing against the architectural and structural drawings before any reinforcement goes in.
- 2Set the conduit and penetrationsFix the electrical conduit, sleeves and manifold penetrations in their marked positions before the mesh is tied.
- 3Fix and protect the loopsClip each loop to the reinforcement at the designed spacing and walk every circuit for kinks and damage.
- 4Check the insulation and membraneConfirm the insulation and membrane are continuous, lapped and undamaged wherever the design requires them.
- 5Pressure test and recordHold each circuit at the test pressure for the designed period and file the signed record.
- 6Release the hold pointGive the written sign-off that the slab is ready, and only then book the concrete truck.
A worked example: a builder in western Sydney
Take a builder in western Sydney putting up a single-storey house on a flat block, with hydronic heating across the living areas and bedrooms. The layout had been approved with the manifold in the laundry, and the plumber had marked the site copy to match. Shortly before the pour, the owner asked for the laundry to move to the garage to make room for a larger pantry. The architect revised the plan. Nobody sent the revision to the hydronic designer.
The builder caught the difference at the pre-pour walk, because the site copy still showed the manifold in the laundry while the revised plan put the garage in that position. The plumber was called back, the designer reissued the layout, and the affected loops were re-routed to the new manifold position before the mesh in that area was tied. The electrician moved the thermostat cable run to match. The pour was held until the new loops had been laid and tested, and the new pressure record went into the file before the truck was booked.
The cost of that catch was a morning for the plumber, a reissued drawing and a short delay to the programme. Had the same error reached the pour, the builder would have been breaking out a finished section of slab to reach a manifold that could not be reached any other way. The hold point was the only thing that stopped it, and the pre-pour walk now starts with a check that the latest architectural revision has been sent to every trade on the job.
Who signs off, and what goes in the file
The file should contain the current layout, the marked-up copy from the site, the designer’s confirmation, the pressure test record, the electrician’s confirmation of the conduit, the membrane and insulation check and the written release of the hold point. Keep the file with the building records, because the questions about the heating will come years after the builder has forgotten the detail. The file also protects the builder when a future tradesperson asks where the loops run before drilling a fixing into the floor.
Sign-off should be by a named person for each step. The designer signs the layout, the installer signs the test, and the builder or site supervisor signs the release. Where a step is not signed, it is not done, however sound it looked on the day. A practical file for the slab usually holds:
- the current layout and the marked-up site copy
- the designer’s written confirmation of the manifold and penetrations
- the signed pressure test record for each circuit
- the membrane, insulation and conduit confirmations
- the written release of the hold point, with the date and the name of the person who gave it
For builders who want to keep these planning skills current, the PointCPD guide to how NSW builder CPD works explains how continuing professional development is structured in New South Wales. Neither that guide nor any course replaces the designer’s specification or the manufacturer’s installation instructions, which govern the job in front of you.
Questions builders ask
Can I pour the slab before the hydronic designer has signed off the layout?
It is safer not to. The layout governs where every loop, manifold and penetration sits, and the concrete fixes those positions permanently. Get the designer written confirmation on the current drawing and file it before the reinforcement is tied.
Who pays if a hydronic pipe leaks after the slab is poured?
It depends on the contract, the design and what the installer recorded at the time. The owner usually calls the builder first, and the builder then has to recover the cost from the installer, because the builder controls the sequence on site. A signed pressure test record is the best evidence of when and by whom the loops were proven sound.
Can the heating pipe be tied to the mesh with ordinary wire?
The fixing should be the method the designer or the pipe manufacturer specifies, which is commonly ties or clips to the mesh or chairs. Wire that cuts into the pipe, or fixings that rely on the concrete to hold the loop, cause failures that only show up after the slab has cured. If in doubt, ask the designer before the mesh goes down.
Does the pressure test need to continue during the pour?
The pressure should remain in the circuit during the pour unless the installer has a written plan for releasing it and retesting. Any drop in pressure during the pour is a signal to stop and find the cause while the concrete can still be checked. Make sure someone responsible for the pipe is on site throughout.
Do I need to tell the owner where the heating loops run?
Yes. The simplest way is to give the owner a copy of the as-built layout for their records. Anyone who later drills, fixes or cores into the floor needs to know where the loops are, and a copy in the file costs very little compared with a struck pipe.
Is a hydronic slab a job for the plumber alone?
No. The plumber lays the loops and carries out the test, but the electrician, the concreter, the waterproofer and the finishing trades all work on the same slab. The builder runs them through one sequence with a hold point between each step, so that no trade is working on a surface another trade has yet to protect.
Sources
- Heat pump water heaters · energy.gov.au
- Working in heat · Safe Work Australia
- BASIX · NSW Planning Portal
- Concrete pumping · Safe Work Australia
Published 22 October 2026. General information for builders, not legal, financial or engineering advice for a specific job. Check current requirements with the relevant regulator or standard before relying on them.