Key takeaways
- Waffle raft performance depends on the ribs acting as a grid of beams, so pods that are displaced, crushed or floated out of position break the load path the design assumed.
- Mesh sitting on the ground or on the pod tops instead of on chairs removes the tensile capacity from the section, and the defect is invisible once the slab is poured.
- Beam depth is measured from the underside of the rib to the finished top surface, so over-excavated trenches and low pod seating both reduce it without anyone noticing.
- Curing is a structural step, not a housekeeping one, and early moisture loss in wind or heat produces surface cracking and weakens the top cover zone.
- Defects in waffle rafts usually surface as cracking, moisture ingress or floor movement well after practical completion, which puts the cost back on the builder through the statutory warranty period.
A waffle raft is a ribbed raft: a grid of concrete beams formed by leaving voids between them, with a topping slab tying the whole thing together. The pods are not the structure. They are the formwork that creates the voids, and the structure is the concrete that ends up between and over them. That distinction matters because almost every waffle raft defect traces back to something that changed the geometry of that grid before the concrete set — a pod that moved, a trench that was cut too deep, mesh that sank, or a pour that did not fill the ribs.
Waffle rafts are popular on reactive clay because they spread load over a large area and the ribs give stiffness in both directions. They are also less forgiving than they look. A strip footing that is under-poured is usually visible at the edge. A waffle raft can be dimensionally wrong in the middle of a grid and look completely normal from the surface once it is finished.
This article is about fault-finding on waffle rafts specifically: what to check before the pump arrives, what to watch during placement, and what to do after the pour when something does not look right. It is written for the builder or site supervisor who is signing off the inspection, not for someone reading a textbook.
Why the rib grid carries the design, not the pods
The engineer designs a waffle raft as a two-way grid of beams with a topping slab. Load from the walls and columns goes into the topping, then into the ribs, then into the soil. The pods simply create the voids that make the ribs economical — they let you get depth and stiffness without pouring a solid mass of concrete.
That means the design assumes the ribs exist where the plan says they exist, at the depth the plan says, with reinforcement at the right height inside them. If a pod is displaced into where a rib should be, the rib is narrower or missing. If a pod floats during the pour, the rib below it can be filled with pod rather than concrete. If the mesh is sitting on the pod tops instead of being chaired up, the topping has almost no tensile capacity.
The Building Commission NSW maintains a building defects library that is worth reading for the way defects are described and categorised, because it reflects how a certifier or an insurer will frame the problem if it reaches a dispute. The research on serious defects in NSW strata communities points in the same direction: defects that matter are usually the ones that were built in, not the ones that appeared later from wear.
Pre-pour: pod spacing, seating and damage
The most common waffle raft defect found on inspection is pods that are not where the plan shows them. This happens for boring reasons: a subbie lays them by eye, the grid drifts, and nobody checks against the setout before the mesh goes down.
Walk the grid yourself with the plan in hand. Check the following:
- Spacing. Pods should be laid to the spacing on the plan. If pods are butted together where they should have a gap, the rib between them is too narrow or missing entirely.
- Seating. Every pod should sit flat on trimmed, compacted ground. A pod perched on a lump of clay or bridging a soft spot will move under the weight of wet concrete.
- Damage. Cracked or crushed pods should be replaced, not patched with tape or offcuts. A crushed pod collapses during the pour and the rib fills with debris.
- Edge pods. Edge and corner pods are the ones most likely to be kicked out of line during mesh placement. Re-check them last, immediately before the pour.
- Alignment with thickening. Where the plan shows a deeper beam under a load-bearing wall, confirm the pods are laid to suit that beam, not to a uniform grid.
If your crew is laying pods on the same day as the mesh, expect movement. Separating the two operations by even half a day gives you a chance to inspect the grid before it is covered.
Pre-pour checks specific to waffle rafts
- Confirm trench dimensions and pod seating against the engineer’s plan before any pods are laid.
- Walk the grid and check every pod is seated, undamaged and at the spacing shown on the plan.
- Check mesh chair type, height and spacing so the mesh sits at the cover the design requires.
- Verify edge and internal beam setout against the plan, including thickening under load-bearing walls.
- Confirm the vapour barrier or membrane is continuous, lapped and not punctured by pods or mesh.
- Check penetrations, service sleeves and termite management are in place and fixed before the pour.
- Photograph the completed grid from several angles before the pump arrives.
Beam depth: the measurement nobody takes
Beam depth on a waffle raft is measured from the underside of the rib to the finished top surface. It is not the depth of the trench, and it is not the height of the pod. It is the total thickness of concrete in the rib.
Two things routinely reduce it. The first is over-excavation. If a trencher cuts deeper than the plan requires and the trench is not backfilled and compacted, the pod sits lower and the rib is shallower than designed. The second is low pod seating — pods pressed into soft ground under their own weight and the weight of the mesh.
You cannot measure beam depth after the pour without cutting into the slab. So the check has to happen before. Set a string line or laser across the top of the pods and check the depth at several points along each rib, particularly at the ends of beams and under load-bearing walls where the design usually calls for more depth. If the depth is short, fix the seating and re-check. Do not accept “it will be close enough”. Cover and depth are the two things an engineer will ask about first if the slab cracks.
Mesh support, cover and what happens when it sinks
Reinforcement in a waffle raft does two jobs. It provides tensile capacity in the topping and it provides continuity across the ribs. Both depend on the mesh being at the height the design specifies, which in practice means it has to be chaired, not pulled up during the pour.
The classic failure is mesh that ends up sitting on the ground or on the pod tops. It happens because chairs are sparse, because the mesh is walked on during plumbing and electrical rough-in, or because someone decides the chairs are slowing things down. Once the concrete is placed, the mesh is at the wrong level and the section has a fraction of the capacity the engineer designed.
Check the following before you sign the pre-pour inspection:
- Chair type and height match what the design requires for the cover at that location.
- Chair spacing is close enough that the mesh cannot sag between them under foot traffic.
- Mesh laps are tied, not just butted, and lap lengths follow the design.
- Mesh is supported at the edges of the slab and around penetrations, where it most often ends up low.
- No one has walked the mesh flat in the last hour before the pour.
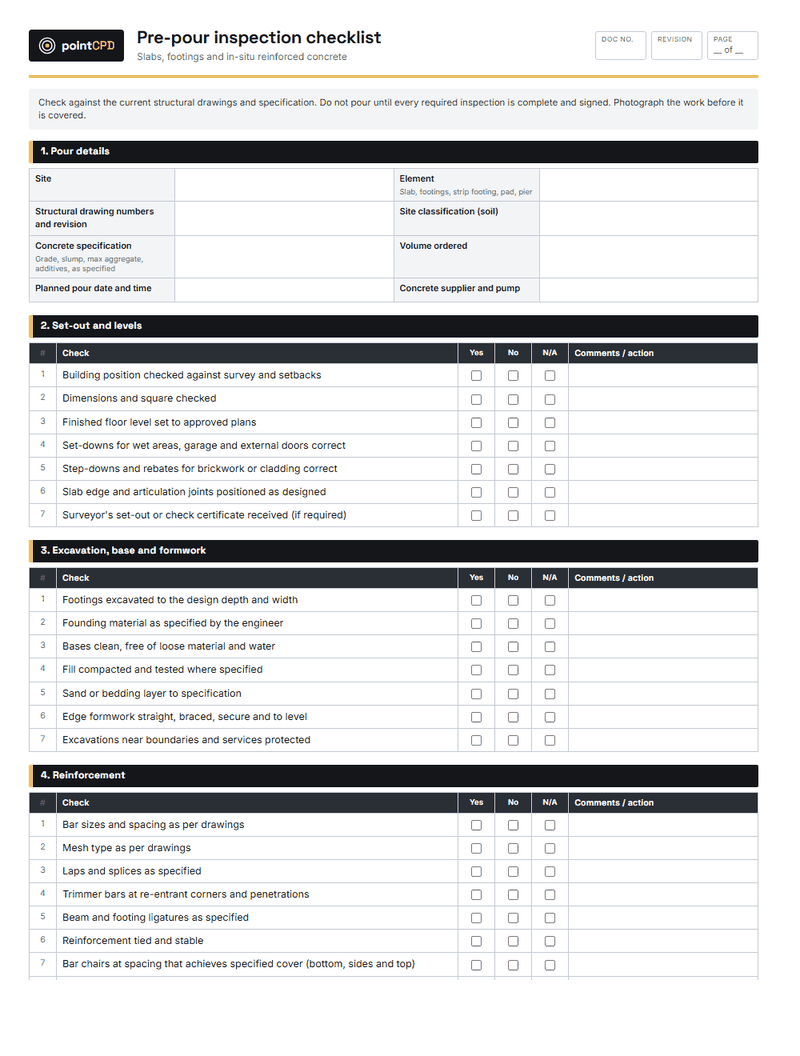
The free pre-pour inspection checklist template is a reasonable starting point, but you will need to add the waffle-specific items — pod seating, rib depth and chair spacing — because a generic checklist will not catch them.
The mistake that costs the most is pouring over a grid nobody has inspected. Pods move, mesh sinks and trenches end up shallow, and all three are invisible once the concrete is placed. A short inspection before the pump arrives is the cheapest defect prevention available on the job.
Concrete placement: pumping, vibration and rib filling
Waffle rafts are usually pumped because the pump reaches over the grid without anyone walking on it. Safe Work Australia’s guidance on concrete pumping is the reference for the safety side of that operation, and it is worth reviewing with the crew before the day, particularly around boom placement, exclusion zones and the risk of line blockage. A blockage that clears suddenly is a serious injury risk, and it also dumps concrete where you did not plan to place it.
On the quality side, the placement risk specific to waffle rafts is that the ribs do not fill properly. Concrete has to flow down into the rib and around the mesh, and if it is placed too fast or not vibrated, you get honeycombing, voids under the mesh, or a rib that is partly filled with pod fragments and clay.
Watch for the following during the pour:
- Concrete is placed progressively so the ribs fill from the bottom up rather than being bridged over at the top.
- Vibration reaches into the ribs, not just the topping, and is not used so long that it causes segregation.
- Pods are not floating or shifting as the concrete goes in. If a pod lifts, stop and reset it before continuing.
- The finished top surface is screeded to the correct level, because that level determines the beam depth you checked earlier.
- Any area where the concrete looks dry, stony or segregated is addressed before it sets.
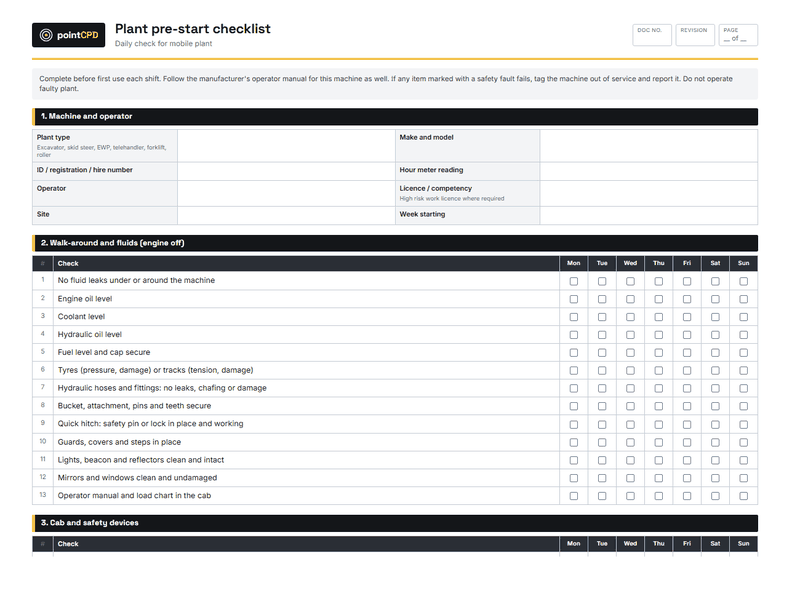
If you are running plant on the site, the plant pre-start checklist template is useful for making sure the pump, the vibrator and the screed are all checked and available before the truck arrives, rather than being sorted out while the concrete is going off.
What happens from setout to curing
- Setout and excavationTrenches are cut to the beam layout and the ground is trimmed and compacted.
- Pod placementPods are laid into the trenches and between them to form the void pattern the design relies on.
- Mesh and servicesReinforcement is chaired to height, then plumbing and electrical sleeves are tied in.
- Pre-pour inspectionThe grid, cover, setout and membrane are checked and signed off before concrete is ordered.
- PlacementConcrete is pumped and vibrated through each rib so no void or honeycombing is left behind.
- CuringThe surface is finished and kept moist for the period the specification requires.
Post-pour: curing, cracking and what to record
Curing is a structural step. Concrete gains strength through hydration, and hydration needs moisture. If the slab dries too fast — wind, direct sun, low humidity, or a hot day with no curing applied — the surface loses moisture before it has gained strength, and you get plastic shrinkage cracking, craze cracking and a weaker top cover zone over the mesh.
On a waffle raft the top surface is the cover over the reinforcement, so surface defects are not cosmetic. A network of fine cracks over a rib line is a moisture path into the mesh, and on a reactive clay site that is the beginning of a durability problem rather than a finishing one.
What to do after the pour:
- Apply curing as soon as the surface will take it, using the method the specification requires.
- Keep the slab moist for the period set out in the specification. If you do not have a figure, ask the engineer or check the project specification rather than guessing.
- Do not let trades load the slab before it has reached the strength the engineer requires. Early loading is a common cause of cracking that gets blamed on the mix.
- Record the pour date, the weather, the curing method and when it was applied. If a crack appears later, this record is what you will rely on.
- Photograph the finished surface and any early cracks with a scale in the frame.
If cracking does appear, the question is whether it is shrinkage cracking or something structural. Cracks that follow rib lines, step across the slab, or appear at re-entrant corners near penetrations deserve an engineer’s opinion, not a patch and paint. The Building Commission NSW defects library and the CCAA’s technical material on cement, concrete and aggregates are both useful references when you are trying to characterise what you are looking at.
Worked example: a slab in western Sydney
A builder in western Sydney is putting down a waffle raft on a reactive clay site for a single-storey project home. The pods are laid on a Friday, the mesh goes down on Monday, and the pour is booked for Tuesday morning.
On Monday afternoon the supervisor walks the grid against the plan for the first time. Two things stand out. First, along one internal beam the pods have been laid tight against each other where the plan shows a gap, which means the rib is narrower than designed. Second, in the corner of the slab where the plumbing rough-in was done, the mesh has been walked down and is sitting on the pod tops rather than on chairs.
Both are fixed that afternoon: the pods are re-spaced and the mesh is re-chaired. The pour goes ahead on Tuesday. Nothing about the finished slab would have looked different if the supervisor had not walked the grid — the surface would have been flat and the edges straight. The defect would have shown up years later as a crack along the internal beam line and a moisture problem at the corner, and by then the cost would have been on the builder under the statutory warranty.
The lesson is not that the subbies were careless. It is that the pre-pour inspection is the only point at which these defects are visible, and it has to be done against the plan rather than from memory.
Documenting the inspection so it holds up later
If a waffle raft defect is alleged after practical completion, the first thing anyone asks for is the inspection record. A signed checklist with photographs, dated and tied to the plan, is worth far more than a verbal assurance that it was all checked.
Keep it simple and consistent. For each waffle raft, record the setout check, the pod spacing and seating check, the rib depth check, the mesh and chair check, the membrane and penetration check, and the curing record. Photograph the completed grid before the pour from at least two directions, and photograph the finished surface after curing is applied.
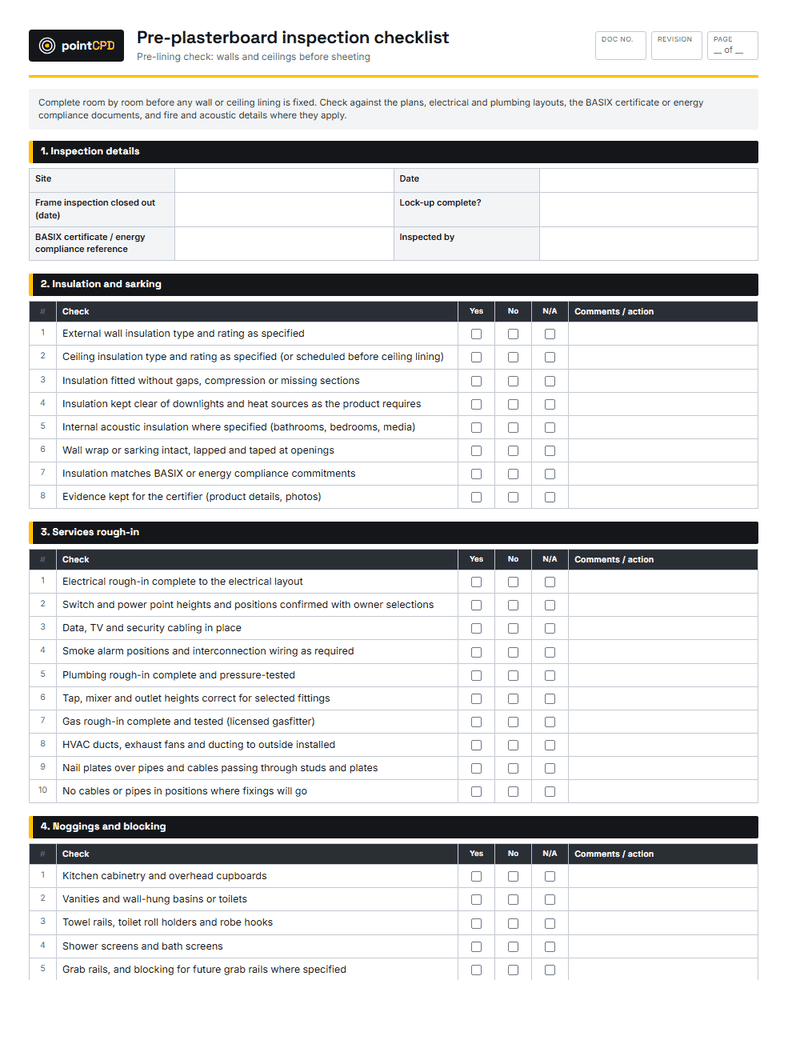
The pre-plasterboard inspection checklist template is a useful second-stage record, because by the time plasterboard goes on you have another chance to note any slab cracking or floor level issues before they are covered up. If a defect does surface, having a documented sequence of inspections makes the difference between a defensible position and an argument about what was or was not done.
For builders working through their CPD obligations, the guide to how NSW builder CPD works explains how technical topics like this fit into the annual requirement, and the course catalogue lists the modules that cover footings, concrete and defect management in more depth.
Where waffle raft defects usually come from
Almost every waffle raft defect traces back to one of four causes: pods that moved out of position, rib depth that was reduced by excavation or seating, mesh that ended up at the wrong height, or curing that was skipped or applied too late. All four are visible or preventable before or immediately after the pour, and none of them can be reliably detected once the slab is finished.
The practical response is a short, repeatable inspection routine that is specific to waffle rafts and is done by someone who has the plan in hand. Generic checklists do not catch pod spacing problems or rib depth shortfalls, because those checks only exist on this slab type. Build the routine once, document it every time, and the defects that would otherwise surface years later stop being a warranty problem.
Questions builders ask
What is the most common defect in a waffle raft slab?
Pod displacement is the most common, because pods are light and easy to knock out of position during mesh placement and services rough-in. When a pod moves into where a rib should be, the rib is narrower or missing, and the load path the engineer designed is compromised. It is almost impossible to detect after the pour, so the check has to happen before.
How do I check beam depth on a waffle raft before the pour?
Beam depth is measured from the underside of the rib to the finished top surface, so you need to check the seating of the pods against the level you intend to screed to. Run a string line or laser across the top of the pods and check depth at several points along each rib, especially under load-bearing walls where the design usually calls for more depth. If it is short, fix the seating and re-check before the mesh goes down.
Can mesh sitting on the pod tops really weaken the slab?
Yes. The mesh provides tensile capacity in the topping and continuity across the ribs, and both depend on it being at the height the design specifies. If it is sitting on the ground or on the pod tops, it is effectively at the bottom of the section and contributes almost nothing. The defect is invisible once the concrete is placed, which is why chair type, height and spacing need checking immediately before the pour.
Does curing really matter on a waffle raft, or is it just cosmetic?
Curing is structural. Concrete gains strength through hydration, and if the slab dries too fast in wind or heat, the surface loses moisture before it has gained strength. On a waffle raft the top surface is the cover over the reinforcement, so surface cracking is a moisture path to the mesh rather than a finishing issue. Apply curing as soon as the surface will take it and keep it moist for the period the specification requires.
What should I do if cracks appear along the rib lines after the pour?
Cracks that follow rib lines, step across the slab, or appear at re-entrant corners near penetrations are worth getting an engineer to look at rather than patching. Record the pour date, weather, curing method and when it was applied, and photograph the cracks with a scale in the frame. The inspection and curing records are what you will rely on if the defect is raised later.
How long should I keep waffle raft inspection records?
Keep them for at least as long as the statutory warranty period applies to the work, and preferably for the life of the project file. A signed checklist with dated photographs tied to the plan is the record that answers the first question anyone asks when a defect is alleged. If the record does not exist, the argument becomes about what was done rather than what the evidence shows.
Sources
- Concrete pumping · Safe Work Australia
- Building Defects Library · Building Commission NSW · 2025-06-25
- Cement Concrete and Aggregates Australia · CCAA
- Research on serious building defects in NSW strata communities · Building Commission NSW · 2026-04-28
Published 24 June 2026. General information for builders, not legal, financial or engineering advice for a specific job. Check current requirements with the relevant regulator or standard before relying on them.