Skip to content
  • NSW-first CPD, built by a practising builder
  • Instant PDF certificates
  • Unlimited assessment attempts
  • 12 points a year, sorted
  • 15% off your first order — get your code
  • Content aligned to the NCC 2022

Free template Inspections and quality

Free dilapidation report template: pre-construction inspection

Record the condition of neighbouring buildings, fences, driveways and council assets before excavation or demolition, room by room with photo references, signed by the owner.

The short version

A dilapidation report records the existing condition of neighbouring properties, and often the council footpath, kerb and road, before excavation, demolition or heavy work starts. It is frequently a condition of development consent, and it protects both sides: the neighbour can show damage the work caused, and the builder can show cracks that were already there. Photograph and describe every defect, have the owner sign, and repeat the inspection when the work is finished.

  • No sign-up
  • Free for commercial use
  • Add your own logo
  • Updated 14 Sep 2026

Reviewed by Daniel Betros, Licensed Building Practitioner

Animated walkthrough · 7 steps

How to prepare a dilapidation report

Seven steps. Do it before any vibration or excavation, with the owner present where you can.

1 / 7
  1. Read the development consent or complying development certificate for any dilapidation requirement: which properties, who must prepare it (some require an engineer), and who gets a copy.

  2. Write to each neighbour, explain why, and book a time. Record the owner's details and whether they attended. If access is refused, record the refusal and inspect what is visible from outside.

  3. Walls, footings, paths, driveways, fences, retaining walls, pools and drainage. Measure and describe every crack: location, length, width, direction.

  4. Room by room: ceilings, walls, floors, doors and windows (do they stick?), cornices and tiles. Note the photo number for every defect.

  5. Wide shots to locate, close-ups with a crack gauge or tape for scale, all date-stamped and numbered to match the report.

  6. Footpath, kerb and gutter, road, nature strip, street trees, pits and poles along the frontage. Councils often hold a security deposit against them.

  7. Inspector and owner sign. Give copies to the owner, the certifier and council as the conditions require. Re-inspect after the work using the same report.

Every builder who has excavated next to an older house has had the phone call: the neighbour has found a crack and is sure you caused it. Sometimes you did. Often the crack was there for twenty years. A dilapidation report, done properly before the work starts, is the only thing that settles that argument quickly and fairly. This template records the neighbouring property and the council assets room by room, with a photo schedule and the owner’s acknowledgement.

What a dilapidation report is (and is not)

A dilapidation report, sometimes called a pre-construction inspection or condition report, records the existing condition of a property at a point in time. It describes and photographs cracks, movement, water staining, damaged surfaces and anything else that could later be blamed on the construction work. It is not a structural assessment and it does not diagnose causes. Its job is to be an accurate, dated record that both sides can rely on later.

When you need one

Dilapidation reports are commonly a condition of development consent or a complying development certificate, particularly where the work involves:

  • excavation near a boundary, basements, or cut and fill;
  • demolition of structures close to neighbouring buildings;
  • piling, rock breaking or heavy compaction that causes vibration;
  • heavy vehicles using the footpath or crossing the kerb.

Read your consent conditions carefully. They usually say which properties must be inspected, whether a qualified person such as a structural engineer must prepare the report, and who must receive a copy (the owner, the certifier, council). Councils often require a report on the footpath, kerb and road along the frontage because they hold a security deposit against damage to them.

Even where no condition requires it, a dilapidation report is cheap insurance. The cost of an afternoon’s inspection is trivial against a disputed claim for repainting a neighbour’s house.

How to record defects so the report holds up

A report that says “some cracking to walls” is useless when the dispute comes. Every defect needs:

DetailWhy it matters
Exact location“East wall of bedroom 2, 300 mm below cornice, left of window” can be found again. “Bedroom” cannot.
Type and directionStepped, vertical, horizontal or diagonal cracks point to different causes.
Length and widthMeasured with a tape and crack gauge, so any later widening can be shown.
Age indicatorsDirty or painted-over edges suggest an old crack; clean, sharp edges suggest a recent one.
Photo referenceEvery defect is tied to a numbered, date-stamped photo with scale.

Also record the things that are fine. “No visible cracking to the north elevation” is evidence too.

Photographs: the part that wins disputes

Take a wide shot to show where each defect is, then a close-up with a crack gauge or tape measure in frame for scale. Keep them date-stamped and number them to match the schedule in section 6. Photograph doors and windows that stick, uneven floors and existing water stains. A short video walk-through is a useful backup.

Access and the neighbour

Write to each neighbour before the work, explain why the inspection helps them as well as you, and book a time. Most agree once they understand it protects them. If someone refuses, record the request and the refusal, inspect and photograph everything you can see from outside, and tell the certifier. Ask the owner to sign the acknowledgement: they are confirming the report records what was seen that day, not agreeing about the cause of anything.

After the work: the post-construction inspection

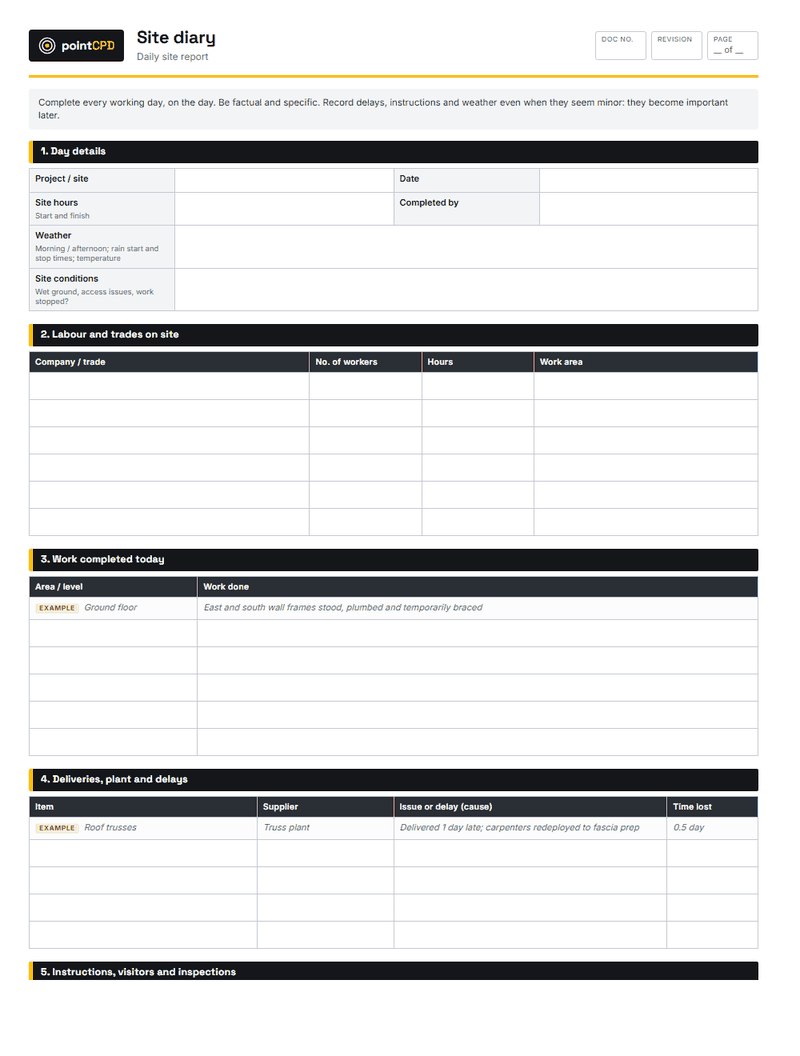
Re-inspect when the work that could affect the property is finished, using the same report. Compare defect by defect. Where something has changed, the report shows exactly what, which makes a fair repair quick to agree. Where nothing has changed, the matter is closed. Keep both reports with the site diary, which records the dates of excavation and vibration work in between.

Council assets

Section 5 records the footpath, kerb and gutter, road surface, nature strip, street trees, pits and poles along the frontage. Damage to these is one of the most common deductions from a builder’s security deposit, and much of it pre-dates the job. Photograph the whole frontage before the first truck arrives.

Reading cracks: what to record, not diagnose

A dilapidation report records; it does not diagnose. But knowing what different cracks can indicate helps you describe them properly and notice when something needs an engineer.

What you seeRecord carefully
Hairline cracks along plasterboard joints and cornicesLocation, length; often shrinkage or minor movement, very common in older homes
Stepped cracks through brick mortar jointsLength, maximum width, whether it widens up or down, dirty or clean edges
Cracks at the corners of windows and doorsDirection and width; whether the door or window sticks
Sloping floors or gaps under skirtingsWhere, and roughly how much, with a level photo if possible
Cracked paving, driveways and pathsWidth and any vertical displacement (trip lip)

If you see wide or active-looking cracks, significant displacement, or anything suggesting an existing structural problem, recommend the owner has it assessed by an engineer before your work starts, and record that you did.

Video, drones and digital reports

A continuous, date-stamped video walk-through of each room and elevation is a very useful supplement to the written report and photos, because it shows everything, including what you did not think to photograph. A drone can capture roofs and gutters without climbing, subject to the rules for flying near people and property and the neighbour’s consent. Store the files with the report, with a note of the date and who recorded them. Digital report apps are fine if they produce a fixed, dated report that both parties can keep; the owner’s signed copy is what matters in a dispute.
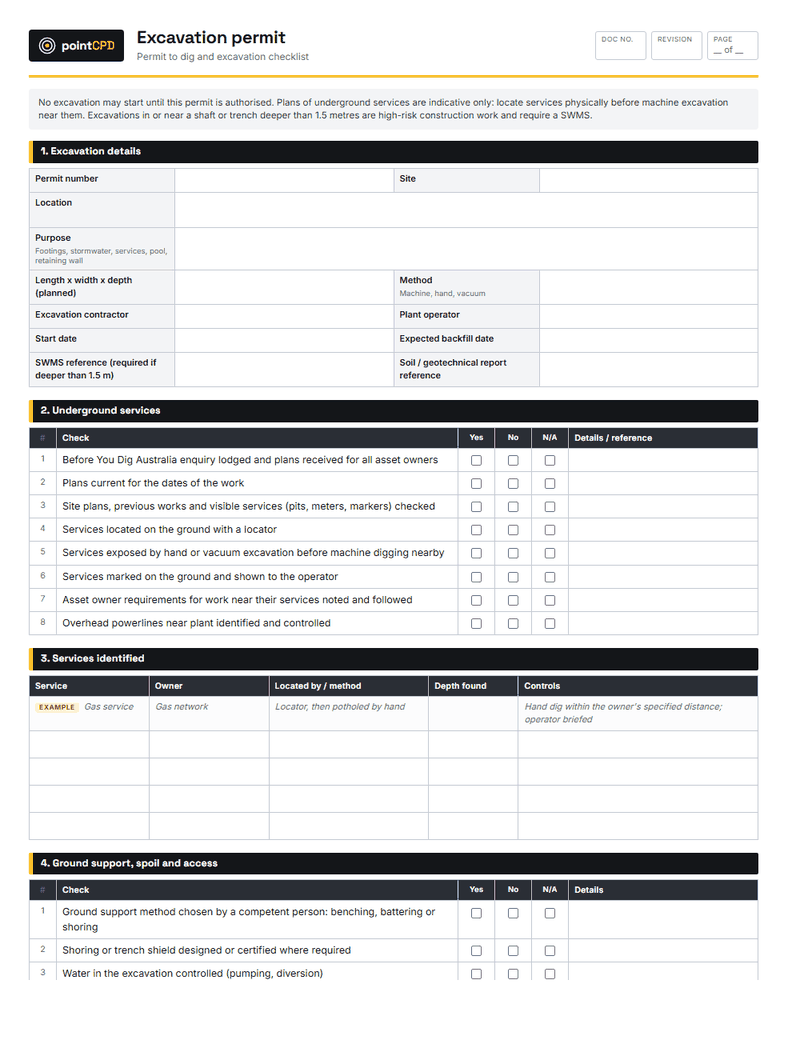
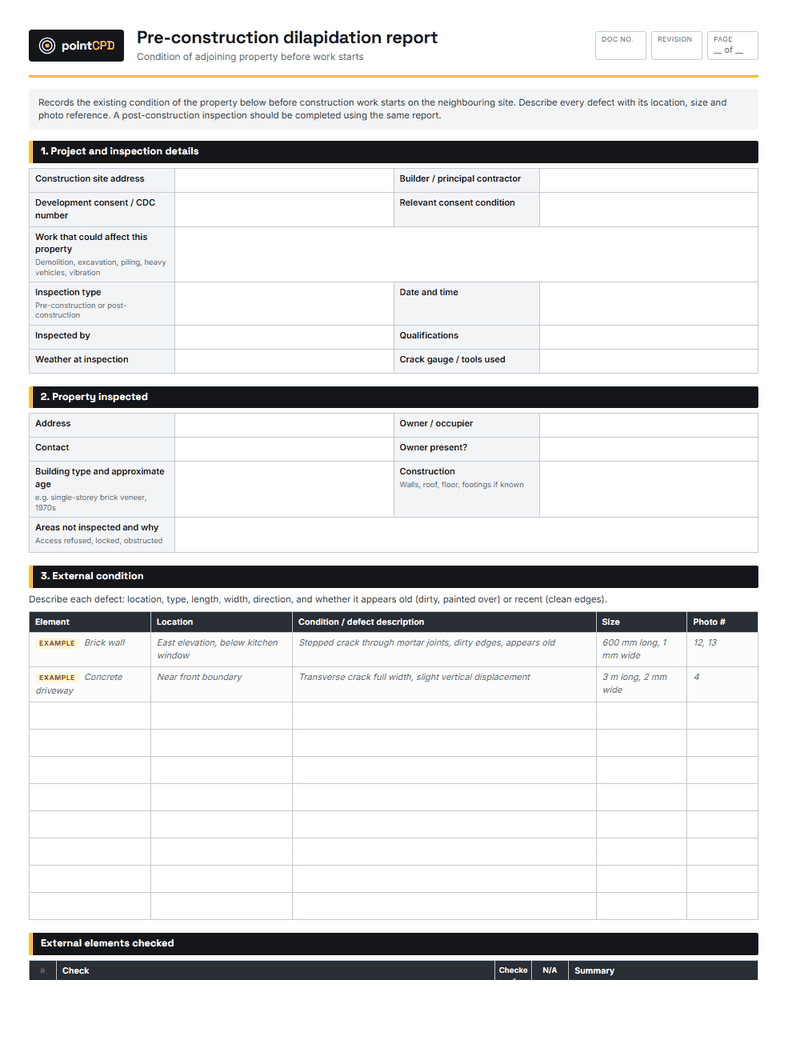
Preview the full Pre-construction dilapidation report template

Every section, field and check in the download, exactly as it prints. Edit the Word version to add your logo, delete what does not apply and add your own site-specific items.

pointCPD

Pre-construction dilapidation report

Condition of adjoining property before work starts

Doc no.
Revision
Page
__ of __

Records the existing condition of the property below before construction work starts on the neighbouring site. Describe every defect with its location, size and photo reference. A post-construction inspection should be completed using the same report.

1. Project and inspection details

Construction site addressBuilder / principal contractor
Development consent / CDC numberRelevant consent condition
Work that could affect this propertyDemolition, excavation, piling, heavy vehicles, vibration
Inspection typePre-construction or post-constructionDate and time
Inspected byQualifications
Weather at inspectionCrack gauge / tools used

2. Property inspected

AddressOwner / occupier
ContactOwner present?
Building type and approximate agee.g. single-storey brick veneer, 1970sConstructionWalls, roof, floor, footings if known
Areas not inspected and whyAccess refused, locked, obstructed

3. External condition

Describe each defect: location, type, length, width, direction, and whether it appears old (dirty, painted over) or recent (clean edges).

ElementLocationCondition / defect descriptionSizePhoto #
ExampleBrick wallEast elevation, below kitchen windowStepped crack through mortar joints, dirty edges, appears old600 mm long, 1 mm wide12, 13
ExampleConcrete drivewayNear front boundaryTransverse crack full width, slight vertical displacement3 m long, 2 mm wide4

External elements checked

#CheckCheckedN/ASummary
1External walls, all elevations
2Footings and visible sub-floor
3Roof covering, gutters and downpipes (from ground or ladder)
4Paths, paving and driveway
5Boundary fences and gates
6Retaining walls
7Pool, pool fence and surrounds
8Stormwater pits and drainage
9Outbuildings, garages and sheds
10Trees near the boundary

4. Internal condition (room by room)

RoomElementCondition / defect descriptionSizePhoto #
ExampleBedroom 2CeilingHairline crack along plasterboard joint, north side, paint intact1.2 m, hairline21

Internal elements checked in each room

#CheckChecked
1Ceilings and cornices
2Walls and wall linings
3Floors and floor coverings, including level
4Tiles, grout and wet area seals
5Doors: operate freely, gaps even
6Windows: operate freely, glass intact
7Architraves, skirtings and joinery

5. Council and public assets along the frontage

AssetLocationConditionPhoto #
ExampleFootpathIn front of construction siteTwo cracked slabs near the existing crossover30, 31

6. Photo schedule

Date-stamp every photo. Use a crack gauge or tape in close-ups for scale. Attach photos in order.

Photo #Location and what it showsDate / time

7. Acknowledgement

This report records the condition observed on the date of inspection. It is not a structural assessment.

Inspector signatureDate
Owner signatureAcknowledges the report records the condition at inspectionDate
Copies provided toOwner, certifier, council, builder
Template by PointCPD · pointcpd.com.au/resources/templates/dilapidation-report-template/Free to use, copy and adapt, including commercially (CC BY 4.0). Keep this credit line.v1.0

Download Word Download PDF

Questions builders ask

What is a dilapidation report?

A record of the condition of a property, usually a neighbouring one, before nearby construction work starts. It describes and photographs existing cracks and defects so that any damage caused by the work can be told apart from damage that was already there.

When is a dilapidation report required?

Often as a condition of development consent or a complying development certificate, commonly where there is excavation, demolition or piling near neighbouring buildings or council assets. Even where not required, builders use them to protect themselves from claims.

Who can prepare a dilapidation report?

It depends on the consent conditions. Some require a structural engineer or a qualified building consultant; others do not specify. Where a condition names a qualification, use a person who holds it.

What if the neighbour refuses access?

Record the request and the refusal in writing, and inspect and photograph what can be seen from your site and the street. Tell the certifier. A documented refusal is far better protection than no report.

Is a dilapidation report the same as a pre-purchase inspection?

No. A pre-purchase inspection assesses a building's condition for a buyer. A dilapidation report records condition at a point in time so it can be compared later. The inspections look similar but the purpose and the audience differ.

Do I need a post-construction report too?

It is strongly recommended, and some conditions require it. Re-inspecting with the same report after the work shows whether anything changed and closes the matter with the neighbour and council.

Free to use, adapt and share, including commercially

This template is licensed under Creative Commons Attribution 4.0. Copy it, rebrand it, edit it for your jobs, hand it to clients and subcontractors, or republish it. The one condition: keep the small PointCPD credit line on the document. If you publish it online, credit it like this:

<a href="https://pointcpd.com.au/resources/templates/dilapidation-report-template/">Pre-construction dilapidation report template</a> by PointCPD, CC BY 4.0

Last reviewed 14 September 2026. A template is a starting point: it becomes a compliant document only once it is completed for the actual job by people who understand the work, and kept current as the work changes. General information, not legal advice. Check the requirements of your state regulator and your contract.

Sources: Environmental Planning and Assessment Act 1979 (NSW) and local council development consent conditions, which commonly require dilapidation reports for excavation and demolition near adjoining properties and public assets. Check your consent and your council's requirements.