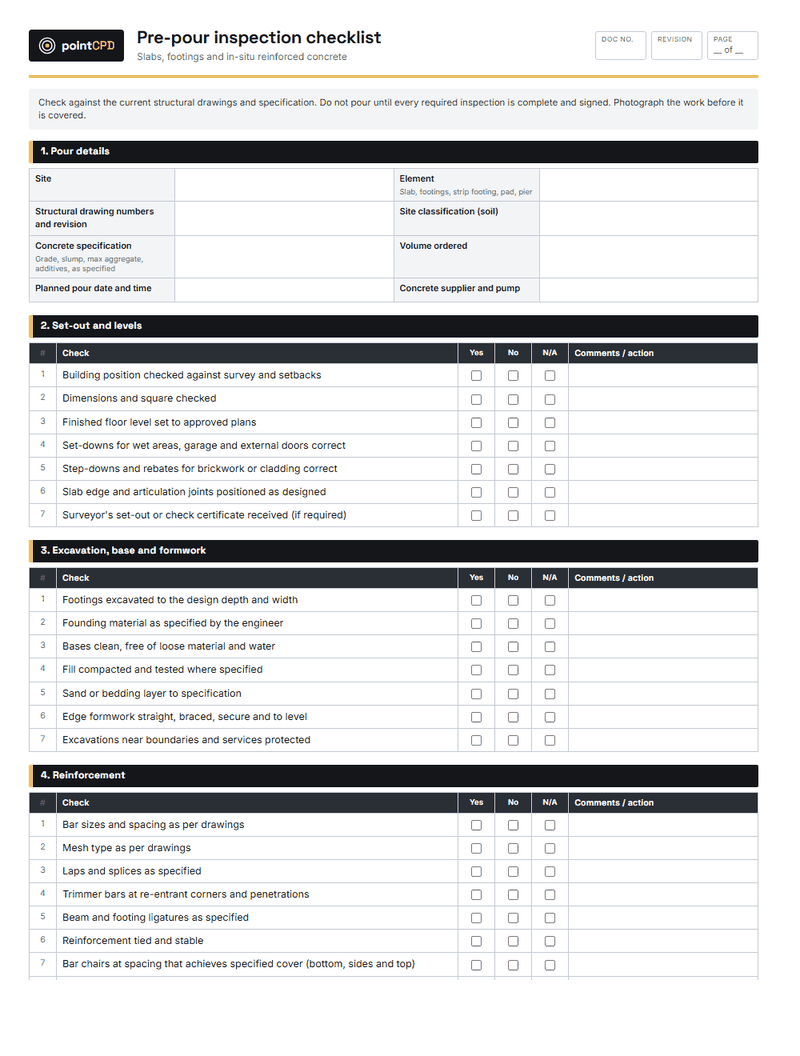
A slab is the one part of a house that can never be inspected again once it is done. Every mistake in set-out, reinforcement, membrane or penetrations is locked in for the life of the building, and the most expensive defects builders face often trace back to the hour before the pour. This checklist is that hour, written down.
Why the pre-pour check matters more than any other
Most defects can be fixed at some cost. A slab defect usually cannot be fixed without demolition. Reinforcement sitting on the ground instead of on chairs will corrode. A vapour barrier torn during reo placement lets moisture into the floor coverings. A plumbing penetration in the wrong spot means cutting concrete. A set-down missed at the shower means a step or a failed waterproofing detail. None of these are visible after the pour.
Mandatory inspections in NSW
For new houses and associated structures, the NSW principal certifier carries out mandatory critical stage inspections at set points in the build. Two of them happen around the slab: after excavation for footings and before the footings are placed, and before pouring any in-situ reinforced concrete element. The structural engineer may also require their own inspection of the reinforcement. Book them early, confirm them the day before, and do not pour until they are done and recorded. A missed mandatory inspection can create real difficulty at occupation certificate stage.
Work to the drawings, not the habit
The checklist deliberately does not state cover depths, lap lengths or bar spacings. Those come from the engineer’s drawings, which are designed for this site’s soil classification and loads, and from the relevant standards such as AS 2870 for residential slabs and footings. The most common reinforcement defects come from crews working to what they usually do rather than what this drawing says. Check the drawing revision first.
The checks that catch most defects
| Area | What goes wrong | What to check |
|---|---|---|
| Set-out | Encroachment on setbacks; wrong floor level; missing set-downs | Survey check, levels, set-downs for wet areas, garage and doors |
| Footings | Not founded on the specified material; water or loose soil in the base | Depth, founding material, clean dry base |
| Reinforcement | Mesh on the ground; missing trimmers; short laps | Chairs, cover, laps, trimmers at re-entrant corners and penetrations |
| Membrane | Tears from foot traffic and reo; untaped laps | Full coverage, taped laps and repairs, edges turned up |
| Penetrations | Wrong position; not sealed; termite protection missing | Plumbing positions and tests, conduits, sealing, termite system |
Termite protection
Where a physical or chemical termite management system is part of the slab design, it must be installed to its specification around penetrations and at the perimeter before the pour. Record the installer and the certificate, and arrange the durable notice. It is much easier to get right before the concrete than to prove afterwards.
Pour day
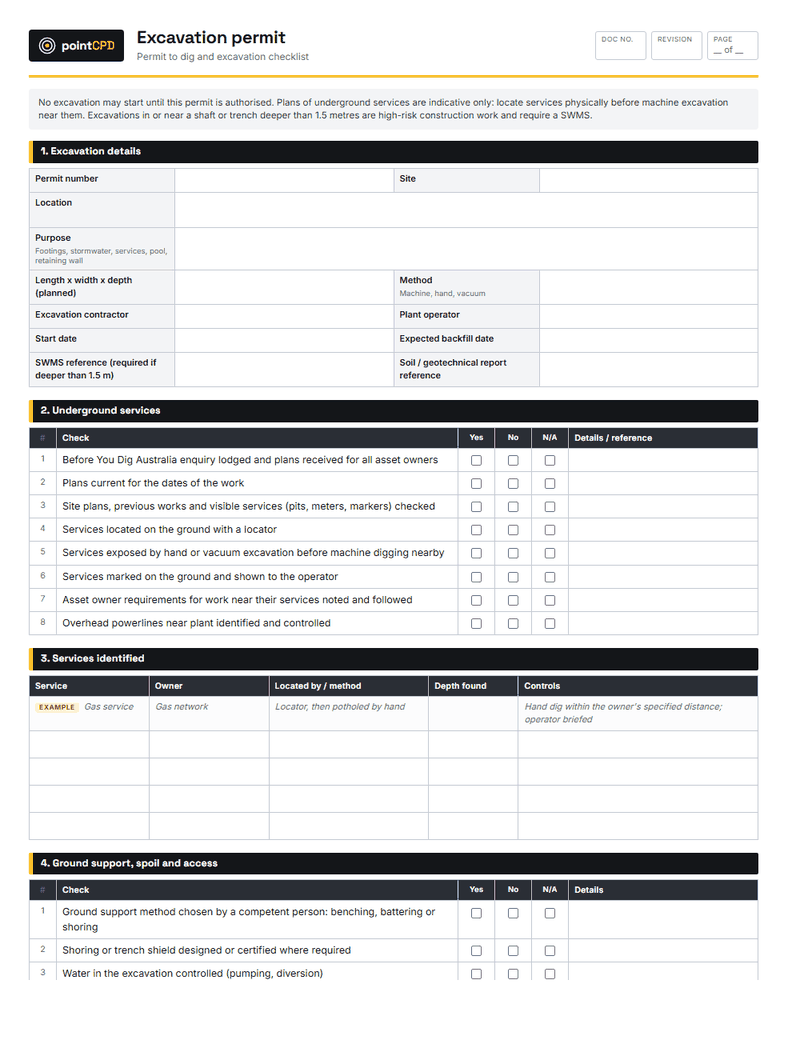
The last section covers the practical risks on the day: weather, the docket matching the specified concrete, the pump position and overhead powerlines, vibrators and finishing tools, and curing. Concrete pumping and plant movement are high-risk construction work, so the SWMS for the pour should be on site. If the specification calls for slump tests or cylinders, take them and record them.
Photographs are your evidence
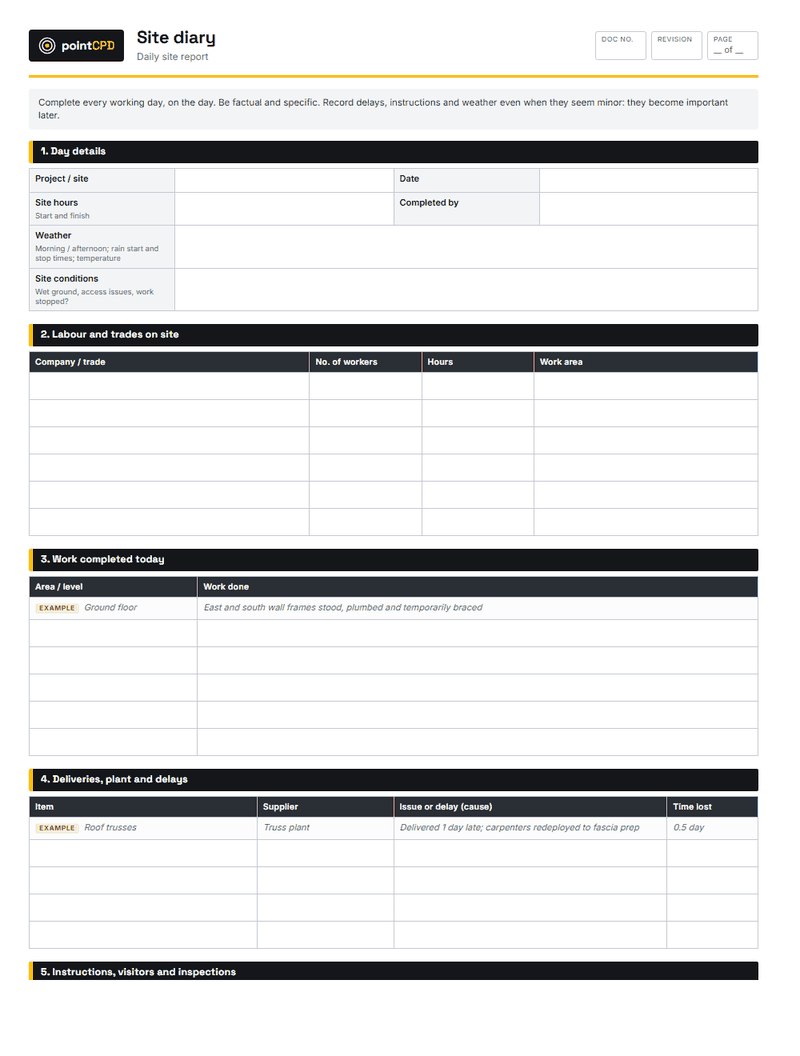
Photograph the reinforcement, chairs, laps, penetrations, membrane and termite protection across the whole slab before the pour, with the date. If a crack appears or a floor covering fails in five years, those photos are the builder’s best evidence that the slab was built as designed. Record the pour itself, the weather and the docket numbers in the site diary.
Next stage
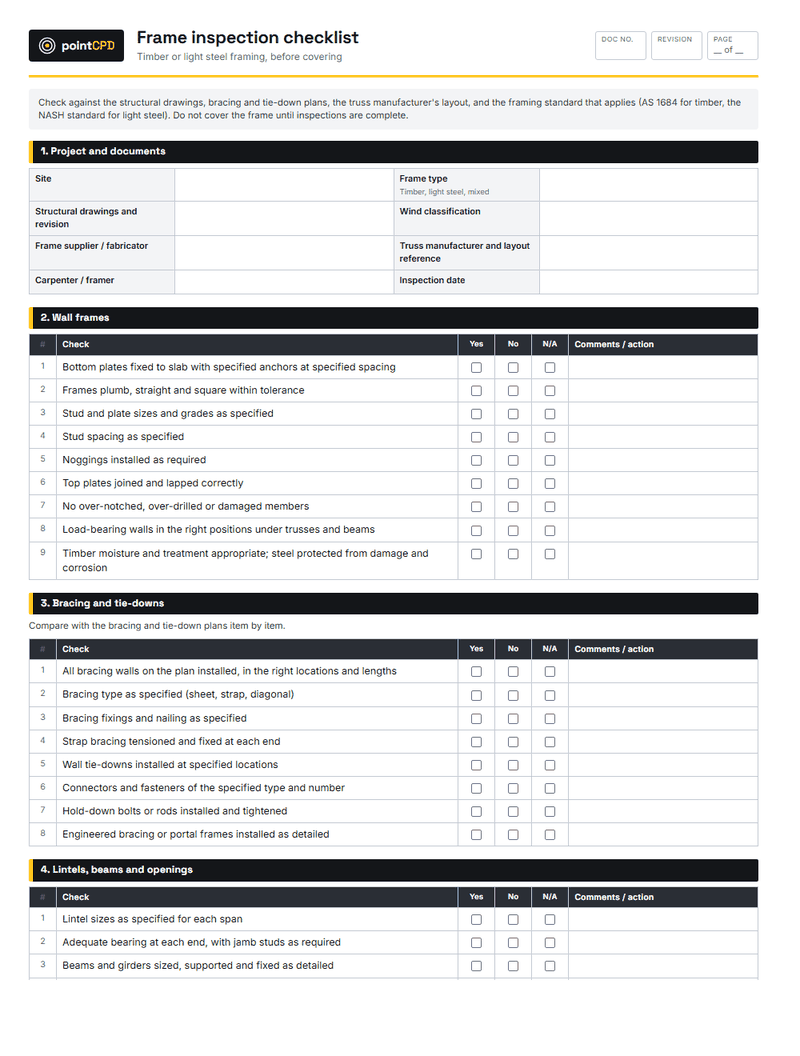
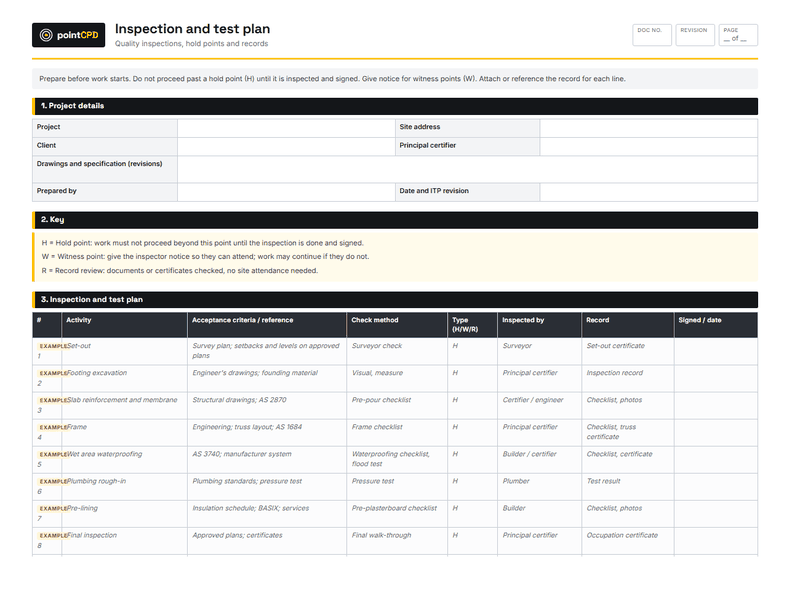
After the slab, the next critical checkpoint is the frame. Use the frame inspection checklist before anything covers it, and the inspection and test plan to schedule every hold point on the job.
Waffle pod slabs and conventional slabs
Waffle pod slabs, common on reactive sites in many parts of Australia, bring their own pre-pour checks alongside the general list: pods laid to the engineer’s layout with the right spacing, spacers and ribs clear, rib reinforcement and edge beam reinforcement positioned correctly, pods secured against floating during the pour, and the membrane lapped and taped at edges and penetrations. Services penetrations need extra care because they often fall on a pod rather than a rib. Conventional stiffened raft slabs have deeper internal and edge beams where excavation depth, trench cleanliness and ligature spacing are the common failings. Check the slab type on the drawings and follow the specific detailing for it.
Pouring in heat, cold and rain
Weather changes how concrete behaves. In hot, windy conditions, the surface can dry faster than it sets, causing plastic shrinkage cracking; plan early starts, have curing materials ready, and consider the supplier’s advice on additives. In cold conditions, setting and strength gain slow down, which affects finishing times and when formwork and loads can be placed. Rain before the pour can wash fines into excavations and soften bases; rain during or after finishing can damage the surface. The checklist asks for a weather plan on pour day because rescheduling a pour is expensive, but pouring into the wrong conditions can be far more expensive. Record the decision and the conditions in the site diary.