Key takeaways
- Most defect and delay disputes turn on what the work looked like before it was covered. Dated photos taken at the right stages are the cheapest insurance a builder can have.
- A 360 camera on a pole, walked through the house at each stage, captures every wall and ceiling in minutes and can be linked to the floor plan.
- Laser scanning and photogrammetry go further, producing measurable 3D records, and suit renovations, complex jobs and handover records.
- The photos that matter most are of work that disappears: set-out, footings, reinforcement, under-slab services, frame fixings, insulation, wet area membranes and services before lining.
- Store images to the job with dates intact, never only on a phone, and keep originals unedited so they hold up as evidence.
Ask a building lawyer what wins a defect dispute and you will often hear the same answer: evidence of what the work looked like before it was covered. Was the waterproofing turned up at the shower wall? Was the tie-down installed? Were the pipes lagged? Was the insulation complete? Once the plasterboard, tiles or concrete are in place, nobody can see, and the argument becomes one person’s memory against another’s.
Dated photos taken at the right moments settle those arguments. Modern tools make capturing them faster than ever. This guide covers how to build a documentation routine that works, where 360 cameras and reality capture fit, and how to store images so they are useful years later.
Why documentation matters more than ever
In NSW, a contractor is responsible for work being free of major defects for six years after completion, and two years for other defects. Claims can surface long after the job, when the supervisor has moved on and memories have faded. Photos are also central to delay and variation disputes, insurance claims, and the growing expectation from regulators and insurers that builders can demonstrate how work was done.
There is also a quality benefit. A routine of photographing work before it is covered forces someone to look at it. Many defects are found by the person taking the photo.
The four ways to capture a job
Four ways to capture a job
| Tool | What you get | Best for |
|---|---|---|
| Phone photos | Individual dated images | Details, defects, deliveries, quick records |
| 360 camera | Spherical images of whole rooms, often linked to the floor plan | Recording every wall and ceiling before lining, weekly progress |
| Drone | Aerial images and site models | Roofs, site-wide progress, set-out, earthworks |
| Laser scanner | A measurable 3D point cloud | Renovations, complex services, as-built records |
Phone photos
The phone in every supervisor’s pocket is still the most-used documentation tool on site. It is perfect for details: a flashing, a crack, a delivery, a defect. Its weakness is coverage. It is easy to photograph what you are looking at and miss the wall behind you. And phone photos tend to stay on phones, mixed with personal images, where they are hard to find and easy to lose.
360 cameras
A 360 camera captures a full spherical image in one shot. Mounted on a pole or helmet and walked through a house, it records every wall, floor and ceiling. Several construction platforms link 360 images to the floor plan, so you can click a point on the plan and see the room as it was on any date. A walk-through of a house takes minutes, and it captures things nobody thought to photograph individually.
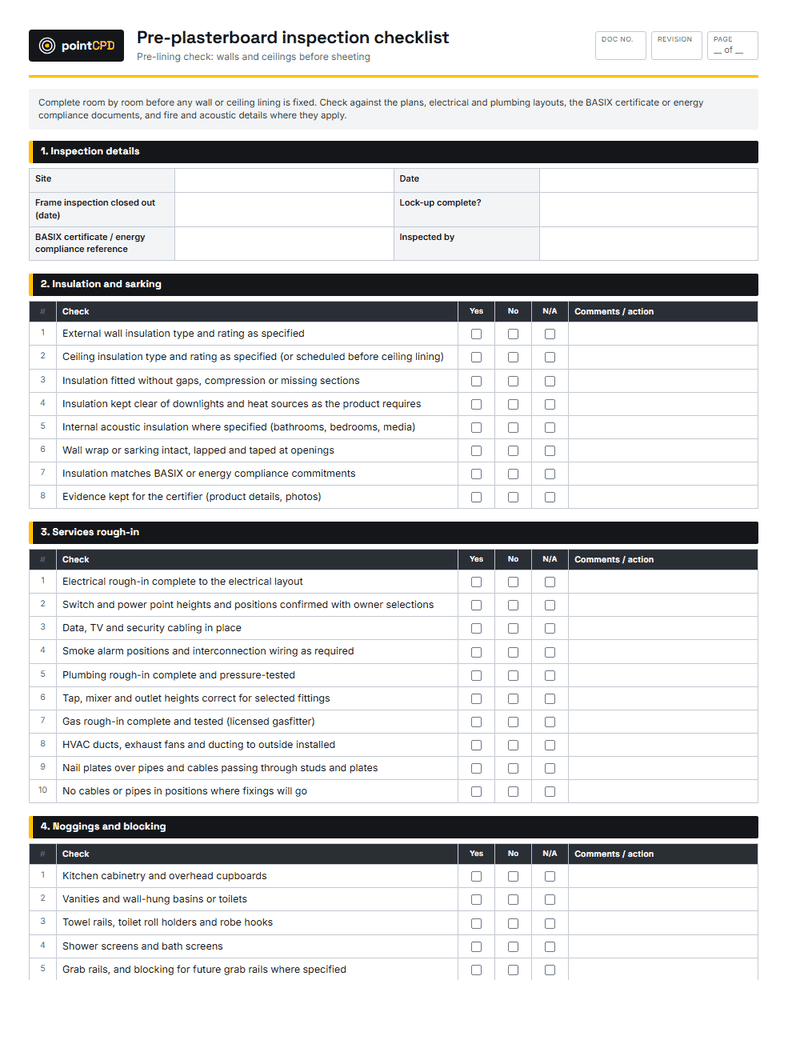
The most valuable 360 walk-through on a house is the one done just before plasterboard: every stud, nogging, brace, pipe, cable, duct and batt, recorded in a few minutes. If a question comes up years later about where a pipe runs or whether insulation was installed, the answer is there.
Drones
Drones capture what ground cameras cannot: roofs, gutters, the whole site, and progress from above. They are covered in more detail in our guide to drones for builders, including the CASA rules that apply to any business flight.
Laser scanning and photogrammetry
Laser scanners produce a point cloud, a measurable 3D record of the building. Photogrammetry produces similar models from overlapping photos. These are more involved and more expensive than photos, but they are powerful for renovations, where existing conditions matter, for complex services coordination, and for as-built records on larger projects.
What to photograph, and when
The golden rule is simple: photograph anything that is about to be covered, and anything that could become a dispute.
The photos every job should have
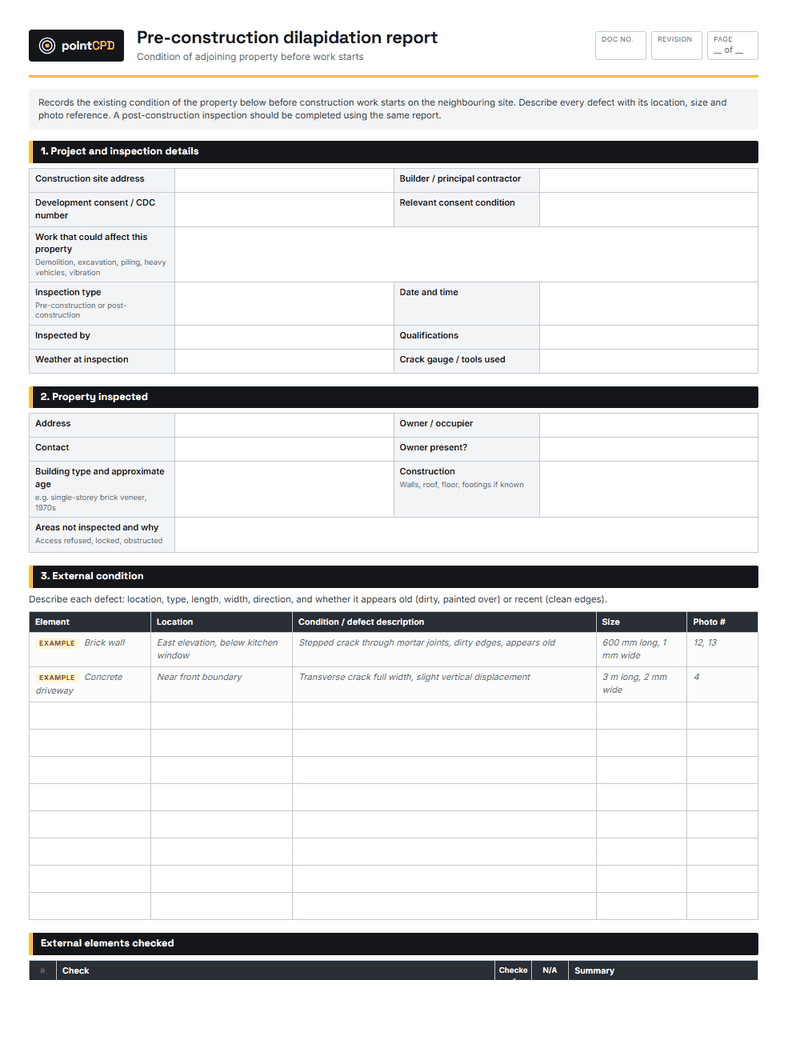
- Before start: neighbouring properties, footpaths, kerbs and existing damage (dilapidation).
- Set-out and excavation, with a tape or level in shot where useful.
- Footing excavations, reinforcement, chairs and cover before the pour.
- Under-slab services, membrane and penetrations before concrete.
- Frame: bracing, tie-down, lintels, beams and connections before cladding and lining.
- Insulation in every wall and ceiling zone before plasterboard.
- Wet area waterproofing: membrane, upturns, penetrations, before tiling.
- Services in walls and ceilings before lining: plumbing, electrical, ducting.
- Roof: flashings, penetrations and valleys before the job is handed over.
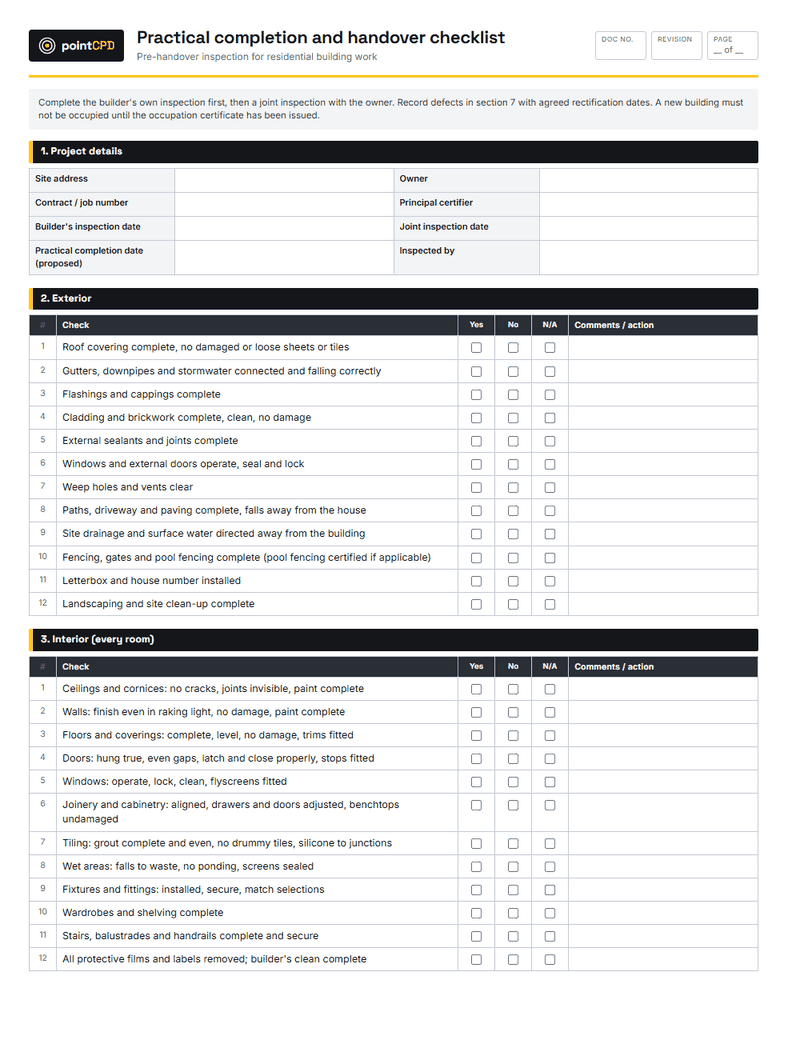
- Handover: each room, finishes, fixtures and the outside of the house.
The dilapidation record at the start is often forgotten and often regretted. A neighbour who claims the excavation cracked their driveway, or a council that says the footpath was damaged during the job, is much easier to deal with if you have dated photos of the existing condition. For larger or riskier jobs, a formal dilapidation report is worth the cost.
How to take photos that hold up
- Wide, then close. A wide shot shows where in the house the photo was taken; a close-up shows the detail. A close-up of a membrane upturn is useless if nobody can tell which bathroom it is.
- Include scale. A tape measure, level or ruler in the shot shows dimensions: cover to reinforcement, membrane height, insulation thickness.
- Keep the date. Use a camera or app that records the date and time in the file, and do not strip that data when sharing.
- Do not edit originals. Crop or annotate copies if you need to, but keep the original file untouched. Edited images are easier to challenge.
- Take enough. Storage is cheap; missing photos are expensive.
Building the routine
A photo routine that sticks
- 1Tie it to the programmePut “photos before covering” into the schedule at each stage, not left to memory.
- 2Use the same routeWalk the house the same way each time with the 360 camera so images line up.
- 3Capture context and detailA wide shot to show where, a close shot to show what.
- 4File it the same dayUpload to the job folder or software, with dates intact.
- 5Check before coveringThe supervisor confirms the photos exist before lining, tiling or backfill.
The most effective step is to make photos a gate, not a suggestion. Before lining, the supervisor confirms that the pre-lining photos or 360 walk-through exist. Before tiling, the waterproofing photos. Before backfill, the drainage photos. It takes minutes, and it becomes habit within a few jobs.
Make it a gate in the programme. Add “photos complete” as a task before lining, tiling and backfilling in the schedule. Trades learn quickly that the next stage does not start until the record exists.
Storing images so you can find them
A photo you cannot find is no better than a photo you never took. Good storage has three features: images are filed to the job, they keep their dates, and they are backed up outside anyone’s phone.
- Construction software that files photos to the job, stage or location on the plan, often straight from the phone app.
- Cloud storage with a consistent folder structure: job, stage, date.
- 360 platforms that store walk-throughs against the floor plan.
Whatever you use, keep records for at least as long as your warranty exposure. For major defects in NSW, that is years after completion, so plan for long-term storage rather than a phone that will be replaced in two years.
A worked example: the leaking shower, four years on
Four years after handover, an owner reports water damage in the hallway next to the ensuite. Their inspector says the shower waterproofing has failed and the builder is liable. The builder opens the job file.
It contains dated photos of the ensuite membrane before tiling: the upturns at the walls, the membrane over the hob, the waste penetration sealed, and a tape measure showing the height of the membrane on the shower walls. It also contains the waterproofer’s certificate and the certifier’s inspection record for the wet area. The 360 walk-through before lining shows the plumbing in the wall behind the shower.
With that evidence, the investigation moves quickly past the membrane and finds the real cause: a leaking fitting on a tap replaced by the owner’s own plumber two years after handover. Without the photos, the builder would have been arguing from memory about work done four years earlier, and would probably have paid to rip out a shower that was never the problem.
That is the return on five minutes of photos before tiling.
Using photos for quality, not just evidence
Photos are not only for disputes. A supervisor reviewing the pre-lining 360 walk-through at the office can spot a missing nogging, a pipe without a clip or a gap in insulation before the plasterer arrives. Some builders review stage photos weekly with their supervisors as a quality check, and use the best and worst examples in toolbox talks with trades. The record becomes a teaching tool as well as a shield.
Photos at handover
A thorough photo or 360 record at handover protects both builder and client. It shows the condition of finishes, fixtures and the outside of the house on the day the client took possession. If damage appears later, perhaps from a removalist or another trade the client engaged, the handover record shows what was there when you left. Many builders share the handover images with the client as part of their home manual, which clients appreciate.
Privacy and the people in the frame
Site photos inevitably capture people: workers, clients, neighbours. Be sensible. Tell workers that the site is photographed for records. Avoid capturing neighbours’ private spaces. Do not use images of identifiable people for marketing without permission. And treat photos of the inside of an occupied home, on a renovation, with the discretion clients would expect.
Sharing records with clients and certifiers
Many builders now share selected progress images with clients through a portal or a weekly update, which reduces anxious calls and builds trust. Certifiers may also accept or request photos as part of their records for some items. Keep the complete, unedited set in the job file, and share curated selections, so the evidence record stays intact while the client sees their home taking shape.
What it costs
A phone routine costs nothing but discipline. A consumer 360 camera is modest in price, and construction 360 platforms are usually subscription-based. Laser scanning is typically bought as a service unless a builder does a lot of renovation or complex work. Measured against the cost of a single defect dispute, the investment is small.
The bottom line
The most useful record a builder can keep is a dated image of work before it is covered. Decide which stages must be photographed, make photos a gate in the programme, use a 360 camera for the pre-lining walk-through, file everything to the job with dates intact, and keep it for as long as your warranty exposure lasts. It is the cheapest protection in the business.
Questions builders ask
What photos should a builder take during construction?
Anything that will be covered or could be disputed: dilapidation before start, set-out, footings and reinforcement, under-slab services, frame bracing and tie-down, insulation, wet area waterproofing, services before lining, roof flashings, and a full handover record.
Are 360 cameras useful on house sites?
Yes. A 360 walk-through before plasterboard records every wall and ceiling in minutes, and many platforms link the images to the floor plan so they can be found by location and date.
How should site photos be stored?
Filed to the job with dates intact, backed up outside anyone’s phone, and kept for at least as long as your warranty exposure. Keep originals unedited.
What is reality capture in construction?
Recording the physical state of a building digitally, using 360 photos, laser scanning or photogrammetry, often producing a measurable 3D model.
Do photos help in building disputes?
They are often decisive. Dated photos of work before it was covered can show whether items were installed correctly, which is otherwise a matter of competing memories.
Sources
- Ensure your new work remains trouble-free (defects and warranties) · NSW Government
- Drone rules · Civil Aviation Safety Authority
Published 15 August 2026. General information for builders, not legal, financial or engineering advice for a specific job. Check current requirements with the relevant regulator or standard before relying on them.