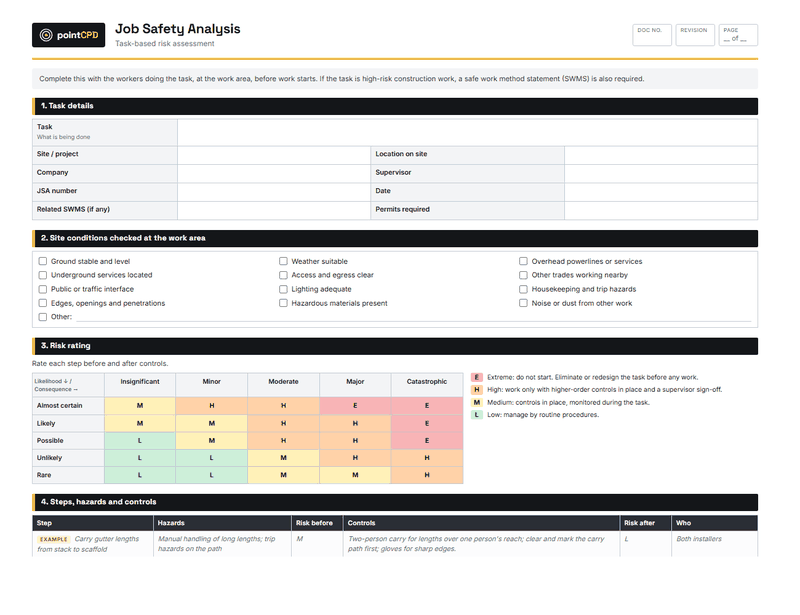
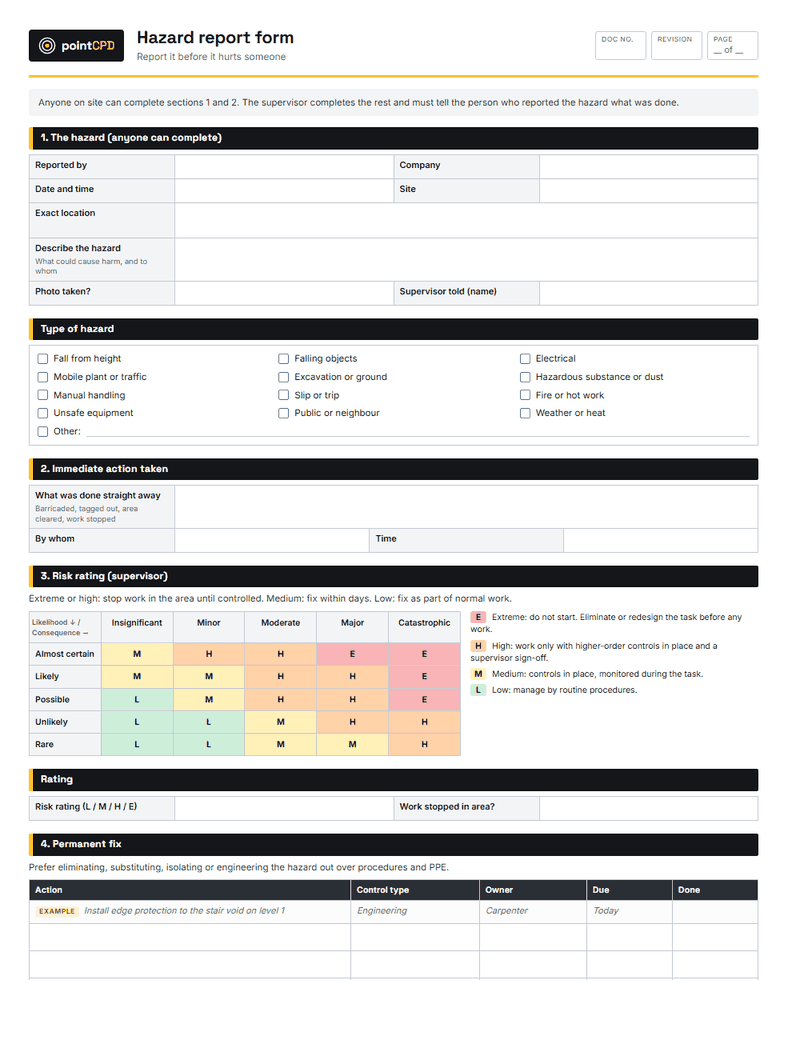
A risk register is the map of everything that could go wrong on a job, and what you are doing about each one. It is the document that tells you which SWMS you need, which trades have to coordinate, and where supervision should concentrate. This template gives you the register, a 5×5 matrix, the hierarchy of control and a review record in one file.
Where a risk assessment fits
The WHS risk management process has four steps: identify hazards, assess the risks, control them, and review the controls. The risk register is where those four steps are written down for a project. Below it sit the documents workers use every day: the SWMS for each high-risk construction activity, JSAs for other tasks, and Take 5 checks at the work face.
Step 1: identify the hazards
Good hazard identification uses several sources, not just memory:
- The plans and specification: heights, excavation depths, heavy elements, site access and boundaries.
- The site itself: slope, soil, overhead and underground services, neighbours, traffic, the public.
- The people doing the work: trades know where their work goes wrong. Consulting them is also a legal duty.
- Past incidents and near misses: on your jobs, and in the regulator’s safety alerts.
- Materials: safety data sheets, silica-containing products, asbestos in existing buildings.
Step 2: assess the risk
The matrix combines how likely harm is with how serious it would be. It is a tool for judgement, not a calculation. Its value is in making a team agree which risks are serious, and in showing that the controls reduced them. Rate each hazard before controls, then again with controls in place. If the rating after controls is still high or extreme, the controls are not good enough and the method needs to change.
Step 3: control it, from the top down
| Level | Control | Site example |
|---|---|---|
| 1 | Eliminate | Pre-fabricate roof trusses and wall frames on the ground; design out work at height |
| 2 | Substitute | Score-and-snap tools instead of power saws on fibre cement; lighter block units |
| 3 | Isolate | Exclusion zones around plant; fencing between the site and the public |
| 4 | Engineer | Edge protection, scaffold, trench shoring, dust extraction, residual current devices |
| 5 | Administrative | SWMS, permits, training, supervision, signage, work scheduling |
| 6 | PPE | Harnesses, respirators, hearing and eye protection, hi-vis |
The law requires you to eliminate risks so far as is reasonably practicable and, where you cannot, to minimise them by working down this order. Administrative controls and PPE are the least reliable because they depend on people doing the right thing every time, so they should back up higher controls rather than stand alone.
Step 4: review it
A risk register written at tender and never opened again does not protect anyone. Review it at each new stage, when methods or trades change, after incidents and near misses, when a control is not working, and when workers raise a concern. Record the review in section 6, even when nothing changes; it shows the register is alive.
Who should be involved
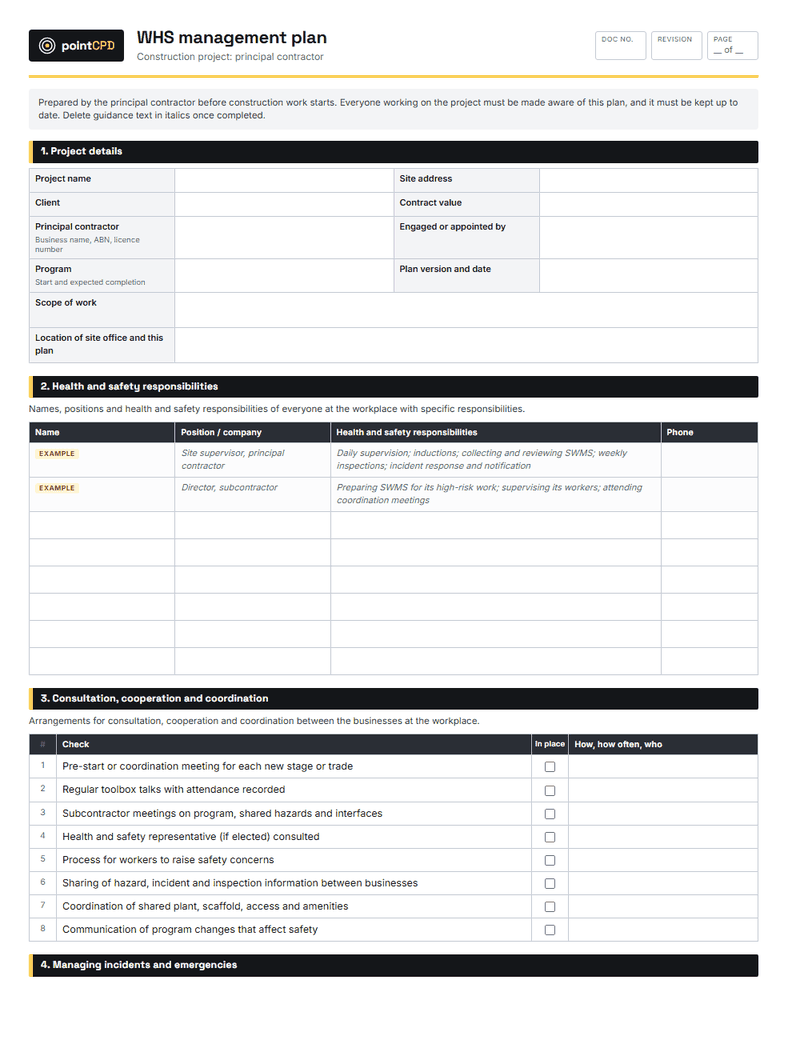
The builder or principal contractor owns the project register, but it should be written with the people doing the work. Subcontractors bring knowledge of their trade’s hazards; the health and safety representative, if there is one, must be consulted; and the designer may be able to eliminate hazards before anyone is exposed to them. On a construction project, the register feeds straight into the WHS management plan.
Common mistakes
- Every risk rated medium. If nothing is high, nothing gets priority. Be honest about the serious ones.
- PPE as the first control. Look up the hierarchy before reaching for a harness.
- No owners. A control without a name against it is a wish.
- No link to what happens on site. Each control should appear in the SWMS or JSA the crew actually uses.
- Written once, never reviewed. Stages change. So do risks.
Worked example: a two-storey home
For a typical two-storey brick veneer home on a sloping suburban block, the project register might start with these high-rated risks and their key controls:
| Hazard | Key controls | Documents |
|---|---|---|
| Falls from upper-floor slab edges, stair voids and roof | Perimeter scaffold with edge protection from first-floor frame; void covers; roof edge protection before roofing | Scaffold SWMS; roofing SWMS; scaffold register |
| Excavation for the cut and retaining walls | Engineer-designed batters; services located; no one in the cut while plant works | Excavation permit; earthworks SWMS |
| Mobile plant and deliveries on a steep, tight site | Traffic plan; set-down area on the level section; spotter for reversing; pedestrian path separated | Traffic management plan; plant pre-starts |
| Silica dust from cutting masonry and fibre cement | Wet cutting or extraction; cutting station; respiratory protection | Bricklaying and cladding SWMS |
| Overhead service line to the neighbour | Clearance zone marked; tipper and concrete pump positions planned; network operator consulted if needed | Site plan; pump SWMS |
Each line then points to the document where the control lives on site. That link is what turns the register from an office document into a site document.
Who writes what
The builder or principal contractor owns the project risk register and the site-wide controls: fencing, scaffold, traffic, amenities, emergency arrangements. Each subcontractor owns the risks of their own work method and writes the SWMS for their high-risk construction work. The builder’s job is to make sure the two fit together, especially where trades interact: the roofer and the scaffolder, the concreter and the plumber, the crane and everyone underneath it. Coordination between businesses is a legal duty, and the register is where overlaps show up.