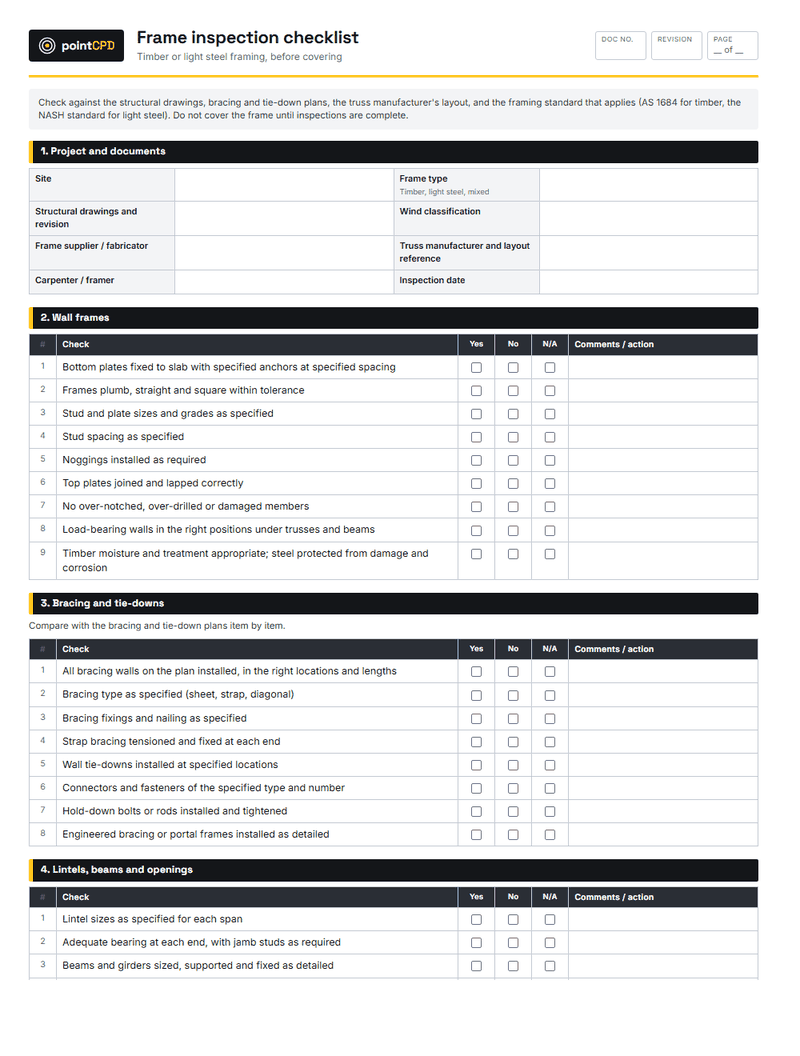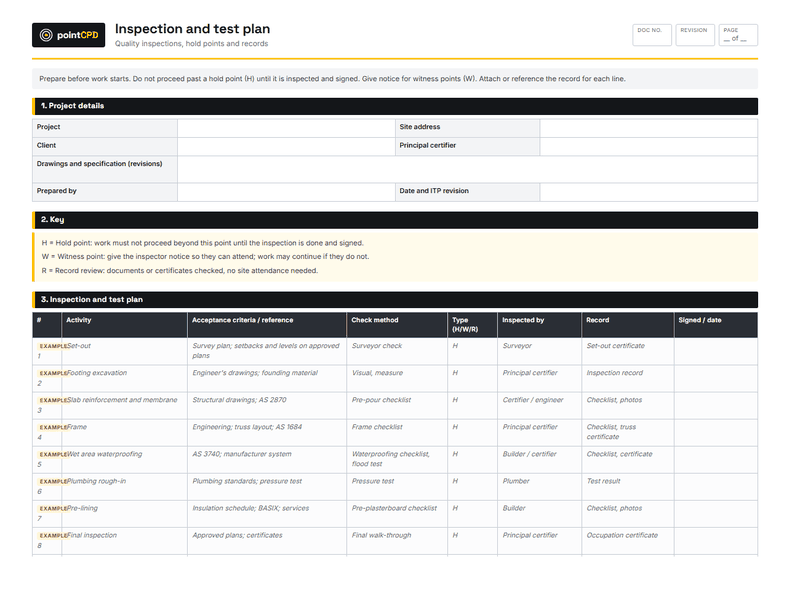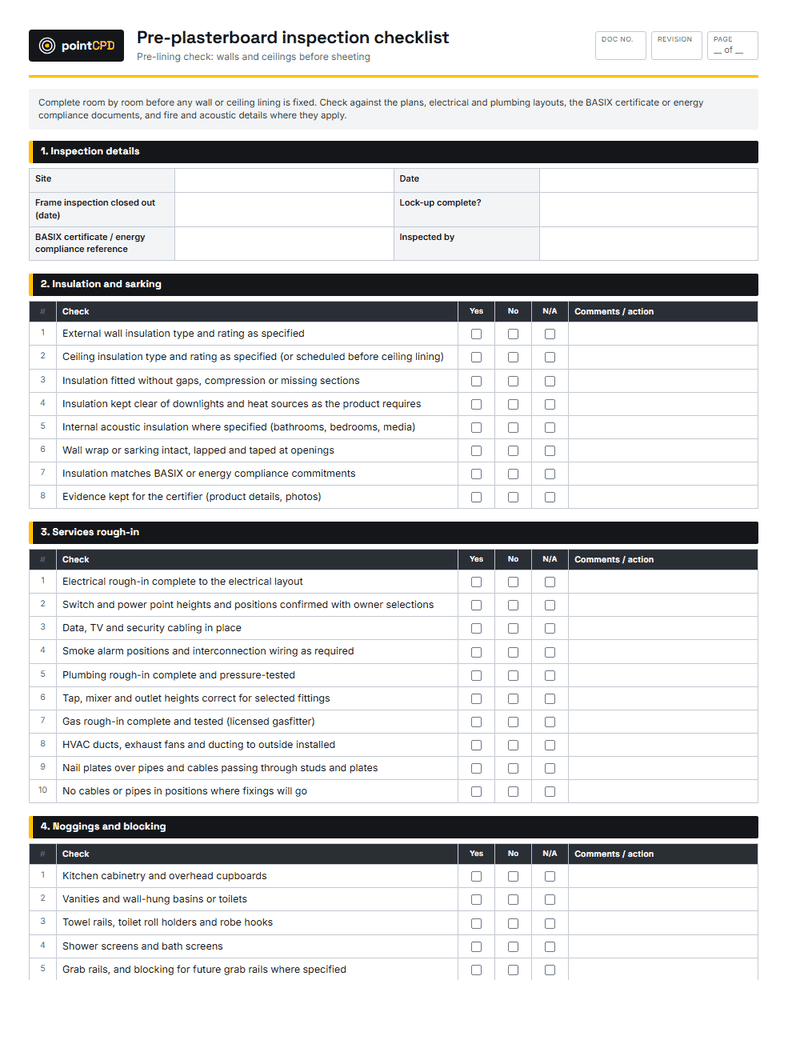
The pre-plasterboard inspection is the most useful hour a builder can spend between frame and handover. Once the plasterer starts, the inside of every wall and ceiling disappears for good: the insulation that was never fitted behind the bath, the towel rail with no nogging, the pipe with no nail plate that a picture hook will find in three years. This checklist walks every room before that happens.
What is inside a wall that matters
| Item | What goes wrong if it is missed |
|---|---|
| Insulation | Gaps and compression cut thermal performance; the house fails to meet the energy commitments it was approved on |
| Services rough-in | Power points in the wrong place, taps at the wrong height, a missing data point, cutting new holes in finished walls |
| Nail plates | A plasterboard screw or picture hook through a water pipe or a cable, discovered after handover |
| Noggings | Towel rails, vanities and TV mounts with nothing solid to fix to |
| Wet area board | Standard board in a wet area, which the waterproofing system cannot rely on |
| Fire and acoustic details | Gaps in fire separation or sound insulation that fail inspection or cause complaints |
Insulation and the energy commitments
A house’s energy performance is approved on the basis of the insulation, glazing and other measures in its design. In NSW, those are the BASIX commitments, and the certifier needs to be satisfied they were met before issuing the occupation certificate. Check the type and rating of insulation against the certificate, and check the installation: insulation with gaps around noggings, compressed behind services or missing behind baths loses much of its value. Keep product details and photos as evidence. Our insulation and sarking course covers the installation details that decide performance.
Services: check positions against selections
Walk each room with the electrical layout and the owner’s selections. Power points behind where the fridge will go, the bedside switches, the TV point height, the mixer heights for the chosen tapware: every change after lining costs plaster, paint and time. Check plumbing is pressure-tested, gas rough-in tested by the gasfitter, and exhaust fans ducted to outside rather than into the roof space.
Nail plates and fixing zones
Where pipes and cables pass through studs or plates close to the face, a steel nail plate stops a screw going through them. Check every one. Also check that services are not running through the zones where cabinetry, rails or mounts will be fixed.
Noggings: walk it as the owner will live in it
Stand in each room and ask what will hang on each wall. Kitchen cabinets, vanities, towel rails, toilet roll holders, shower screens, curtain tracks and TV mounts all need solid fixing. Blocking for future grab rails in bathrooms is cheap now and expensive later, and increasingly expected. Adding a nogging after lining means cutting and patching.
Wet areas, fire and acoustics
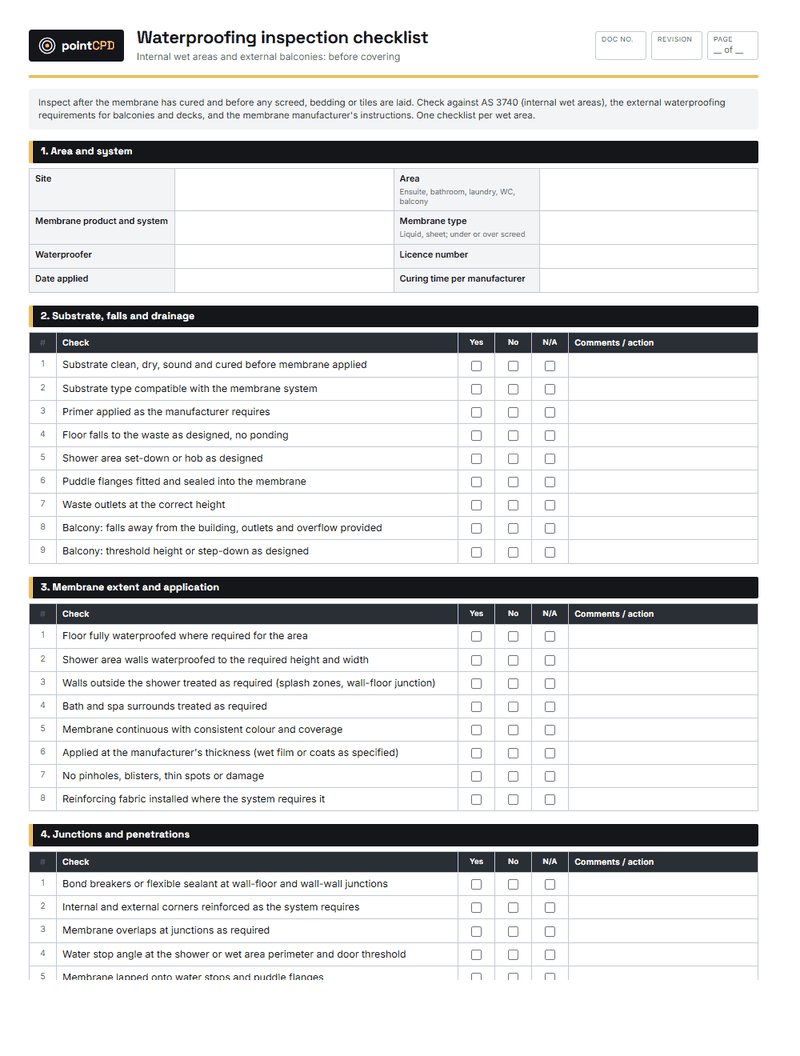
Wet areas need the specified water-resistant lining and a frame ready for the waterproofing details, which are then checked with the waterproofing inspection checklist before tiling. Where the design includes fire-rated or acoustic systems, such as walls between attached dwellings or the garage-to-house wall, check they are specified and that penetrations will be sealed with approved systems.
Photograph everything
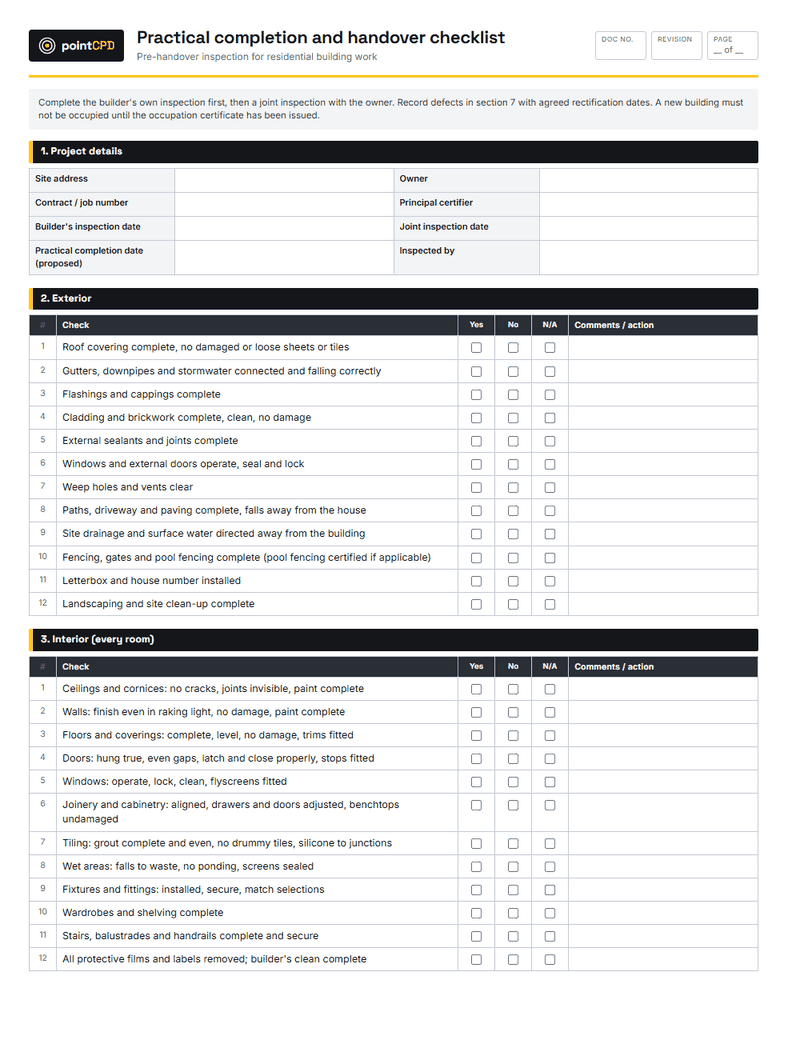
Photograph every wall and ceiling before lining, room by room. It takes twenty minutes. The photos show exactly where services run, which saves hours and damaged walls when something needs to be found later, and they are evidence that insulation and details were installed. Then release the room to the plasterer, and move the next checkpoint, the practical completion inspection, onto the program.
Walk it with the owner
Pre-lining is the best moment to walk the house with the owner. The frame is up and the services are in, so they can see the layout, stand where the kitchen will be, and check the power point by the bed or the TV point height before it is too late. It costs an hour, it catches changes that would otherwise become expensive variations after lining, and it builds trust. Record anything the owner asks for as a variation before the plasterer starts.
A BASIX and energy evidence checklist
In NSW, the certifier must be satisfied the BASIX commitments were met before issuing an occupation certificate. The evidence is far easier to collect at pre-lining than to reconstruct later. Keep a folder with:
- insulation product details and delivery dockets matching the commitments;
- photos of wall and ceiling insulation installed in each area;
- glazing specifications and labels for windows and doors;
- details of any other commitments visible at this stage, such as sarking or ceiling fans;
- notes of any substitutions, and confirmation they still meet the commitments.
A certifier who can see the evidence in one place signs off faster. Our BASIX course explains the commitments and how they are verified.